In this article i will show you how to change 2d images into 3d images for free with the help of AI. Let’s start,
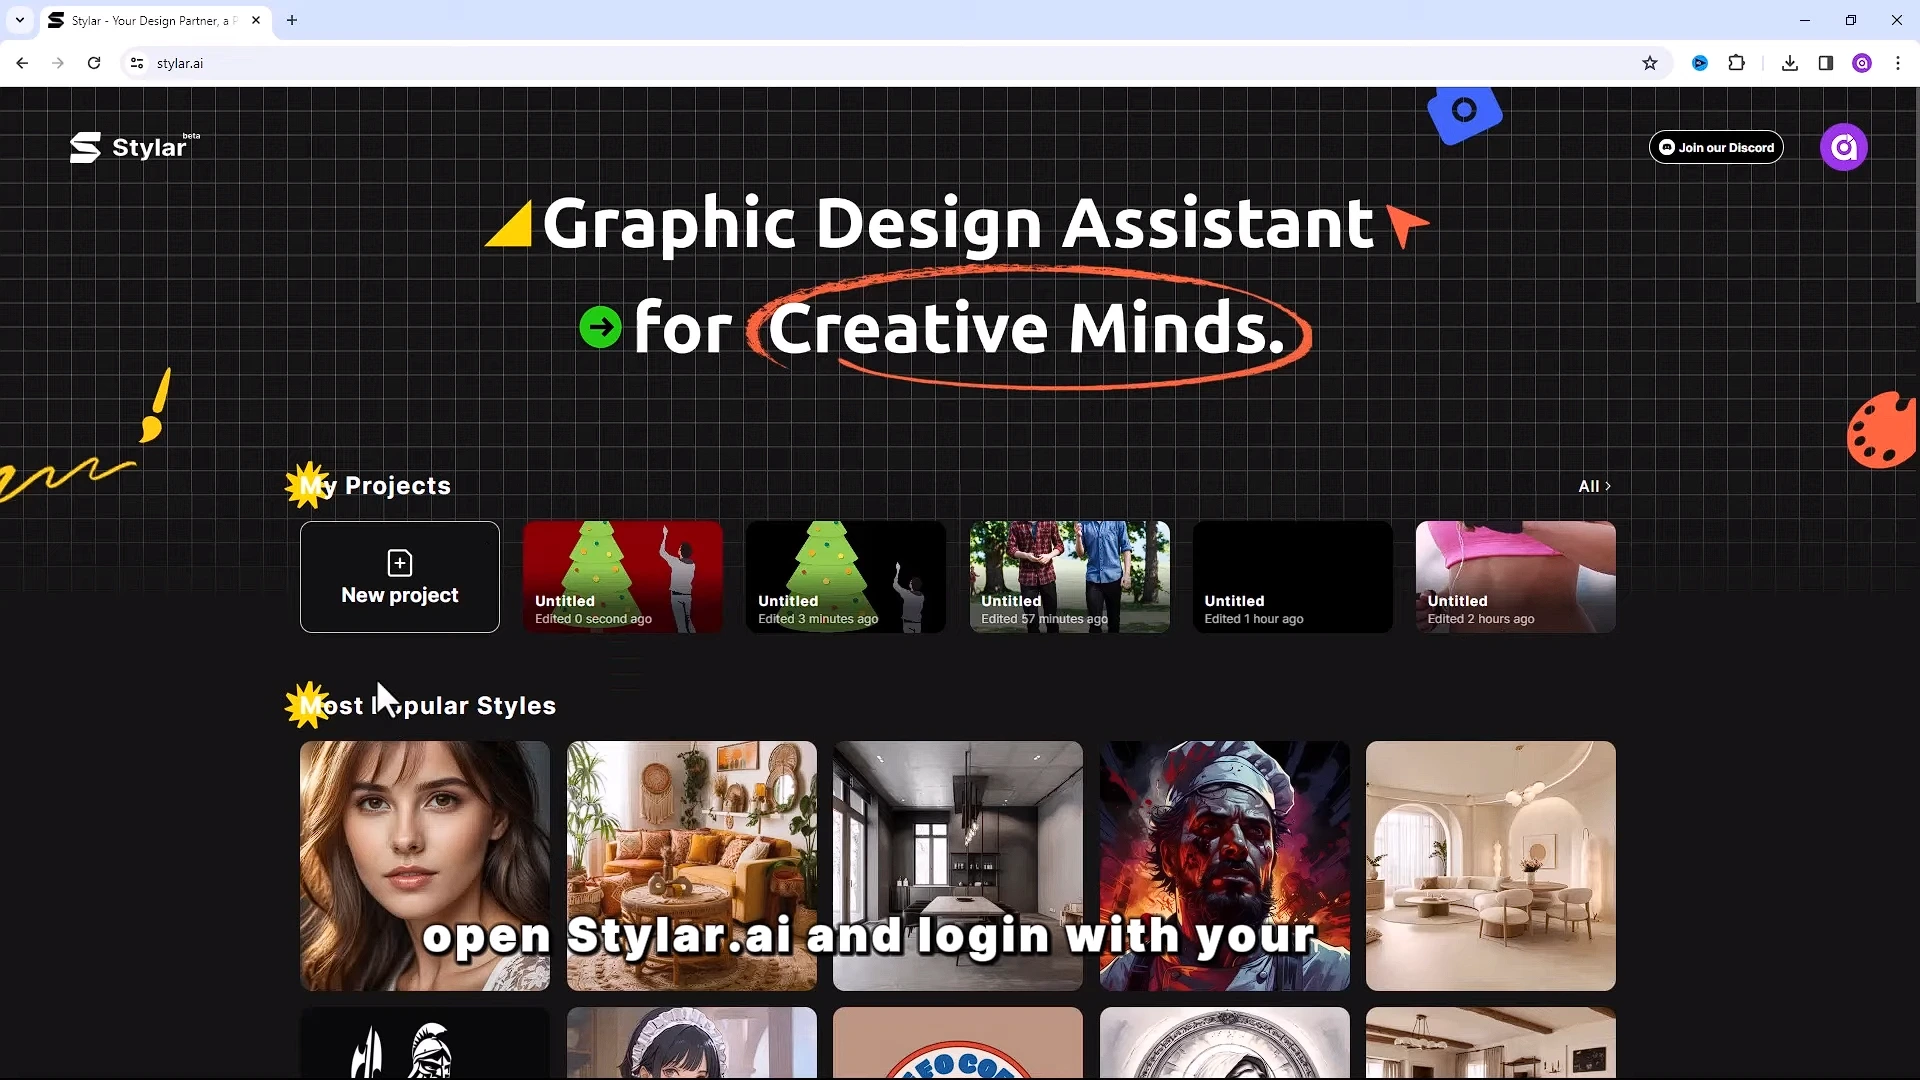
Step 1- Open stylar AI
Open stylar AI and log in with your email.
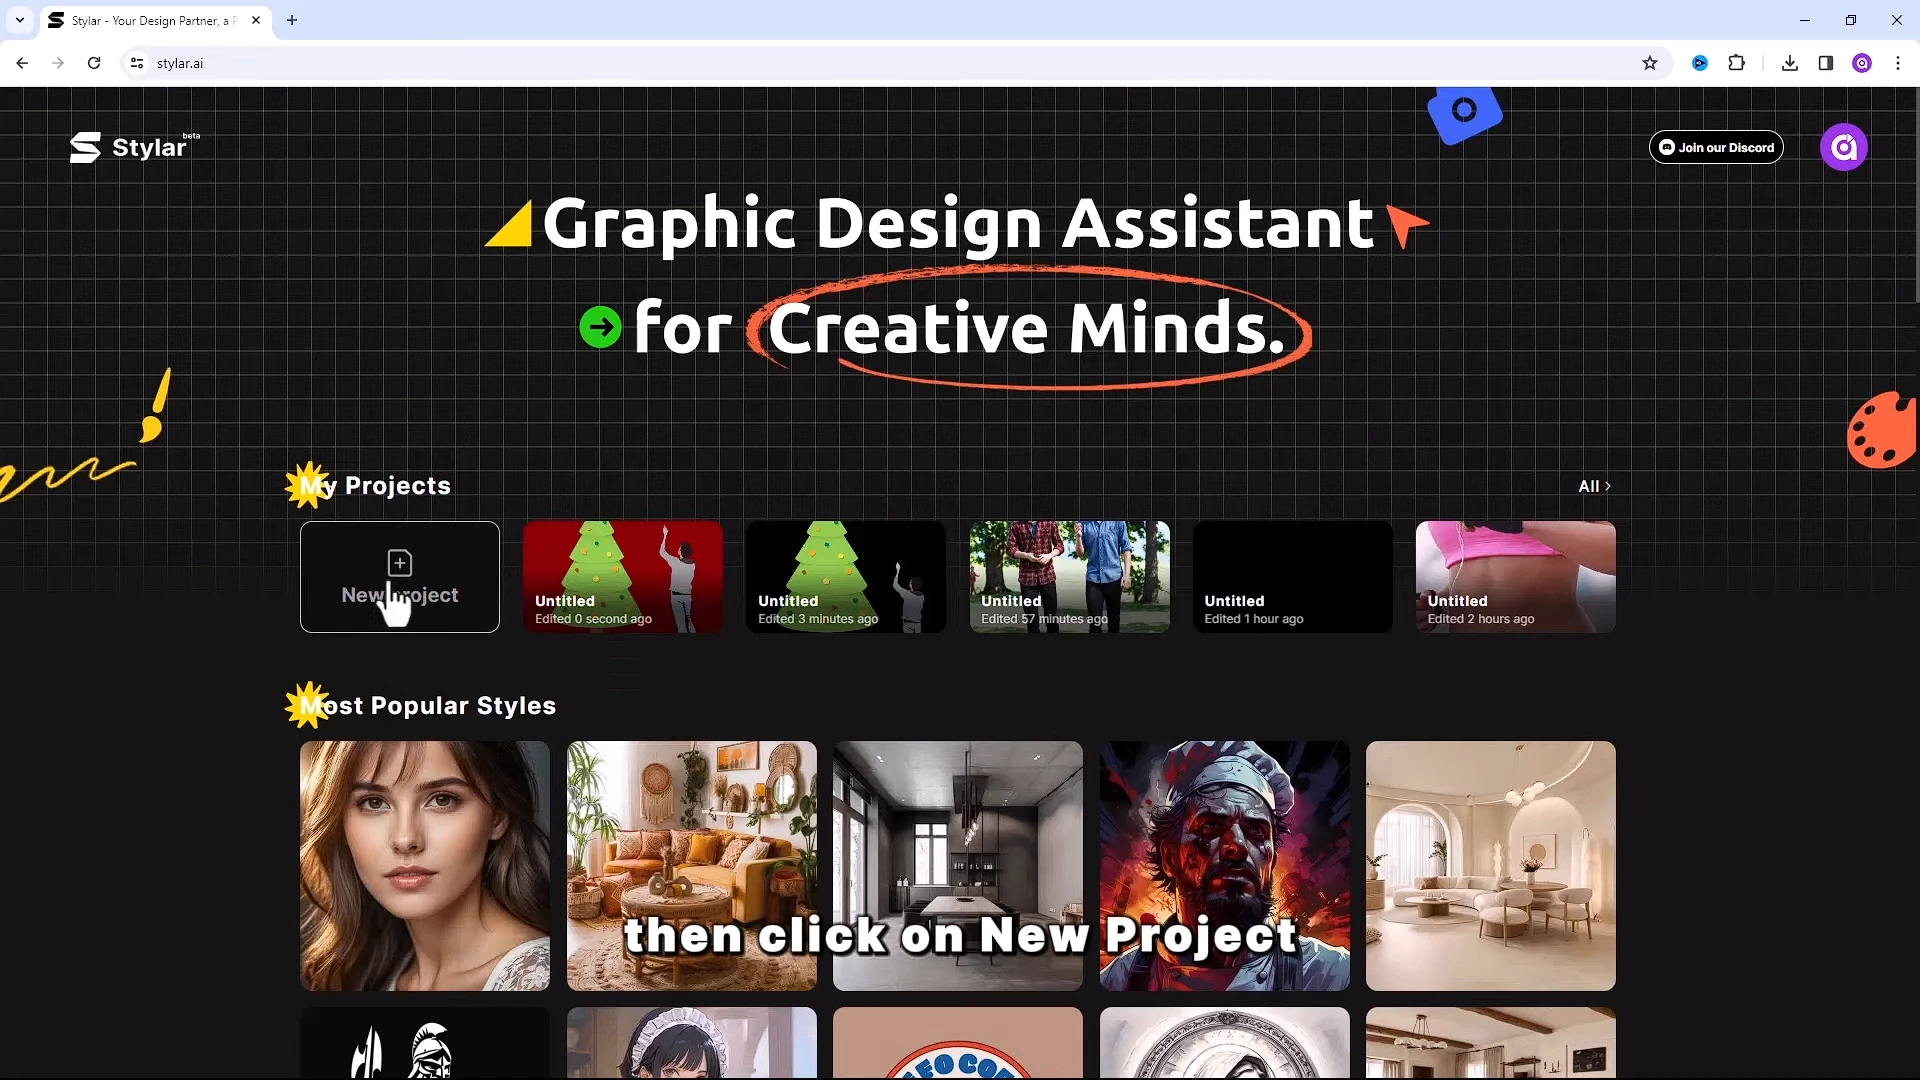
Step 2- select Project
Then click on new project.
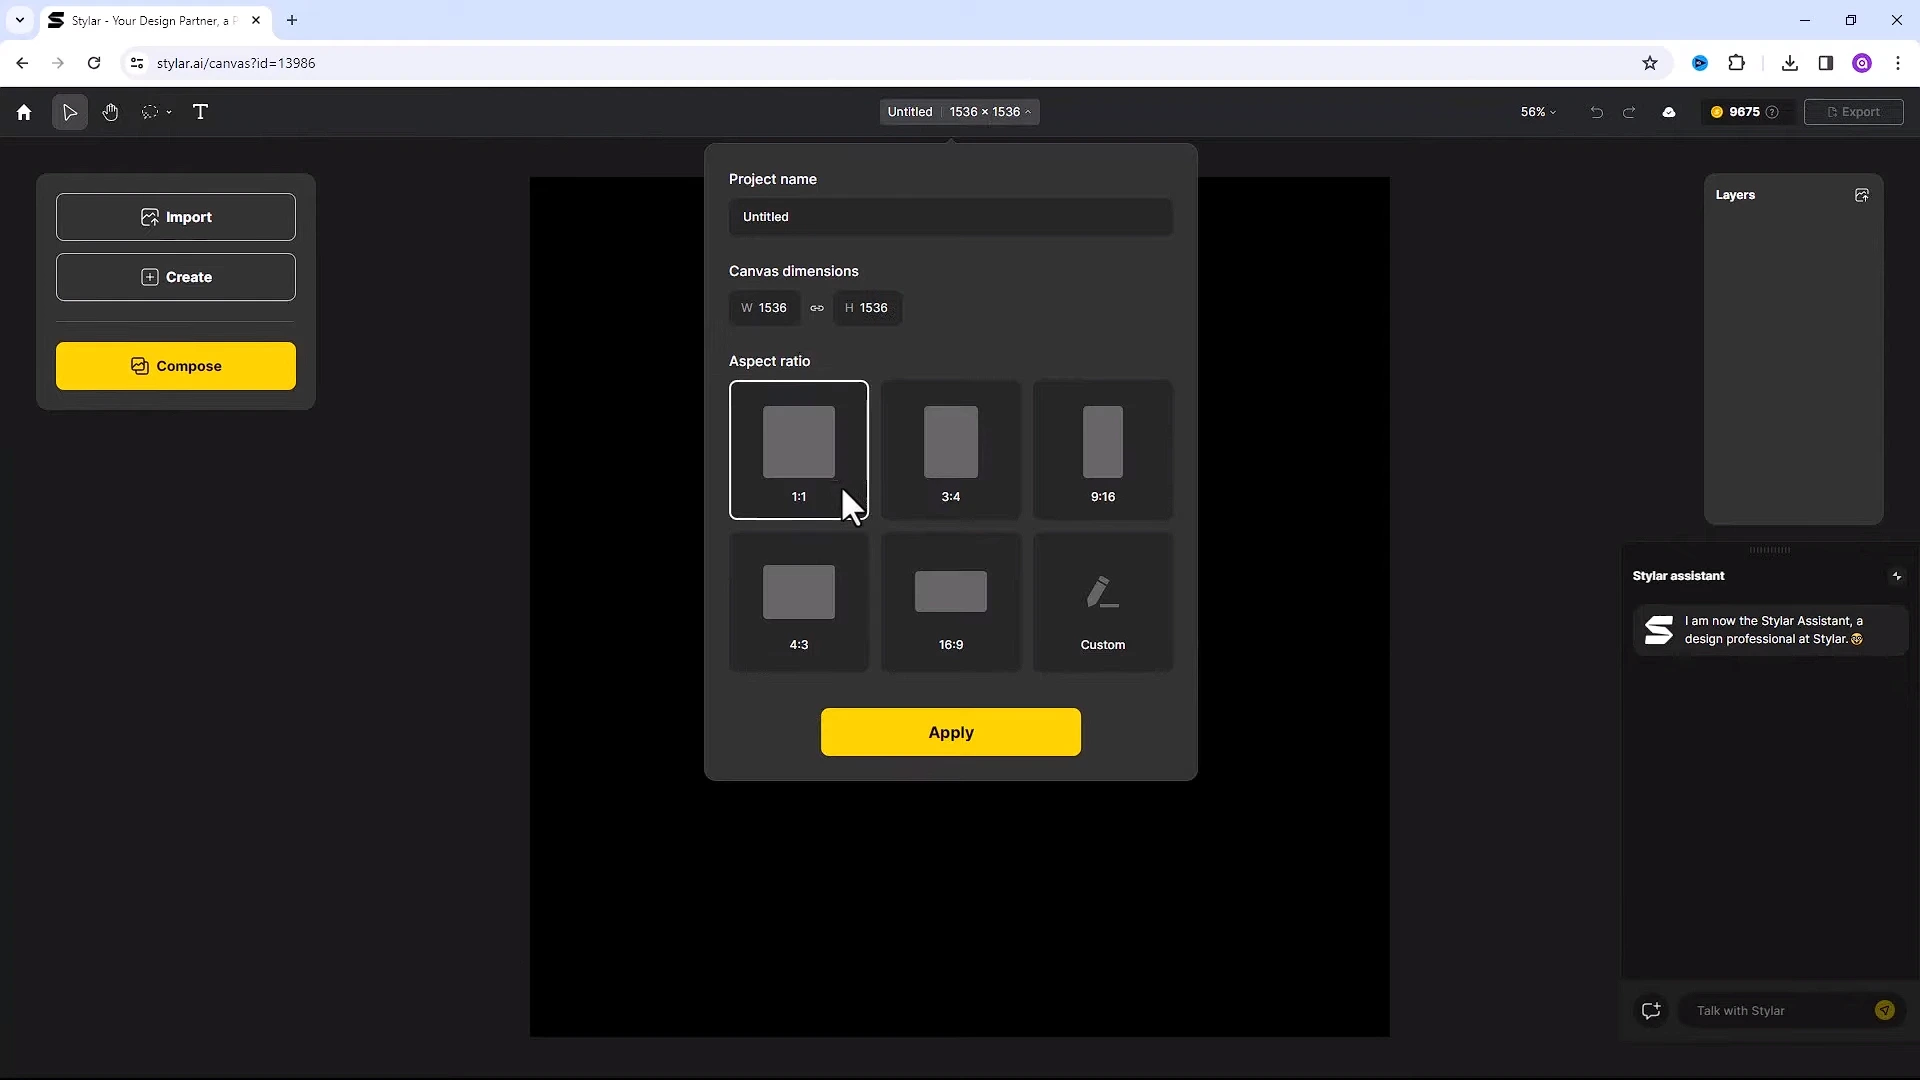
You can choose canvas from here.
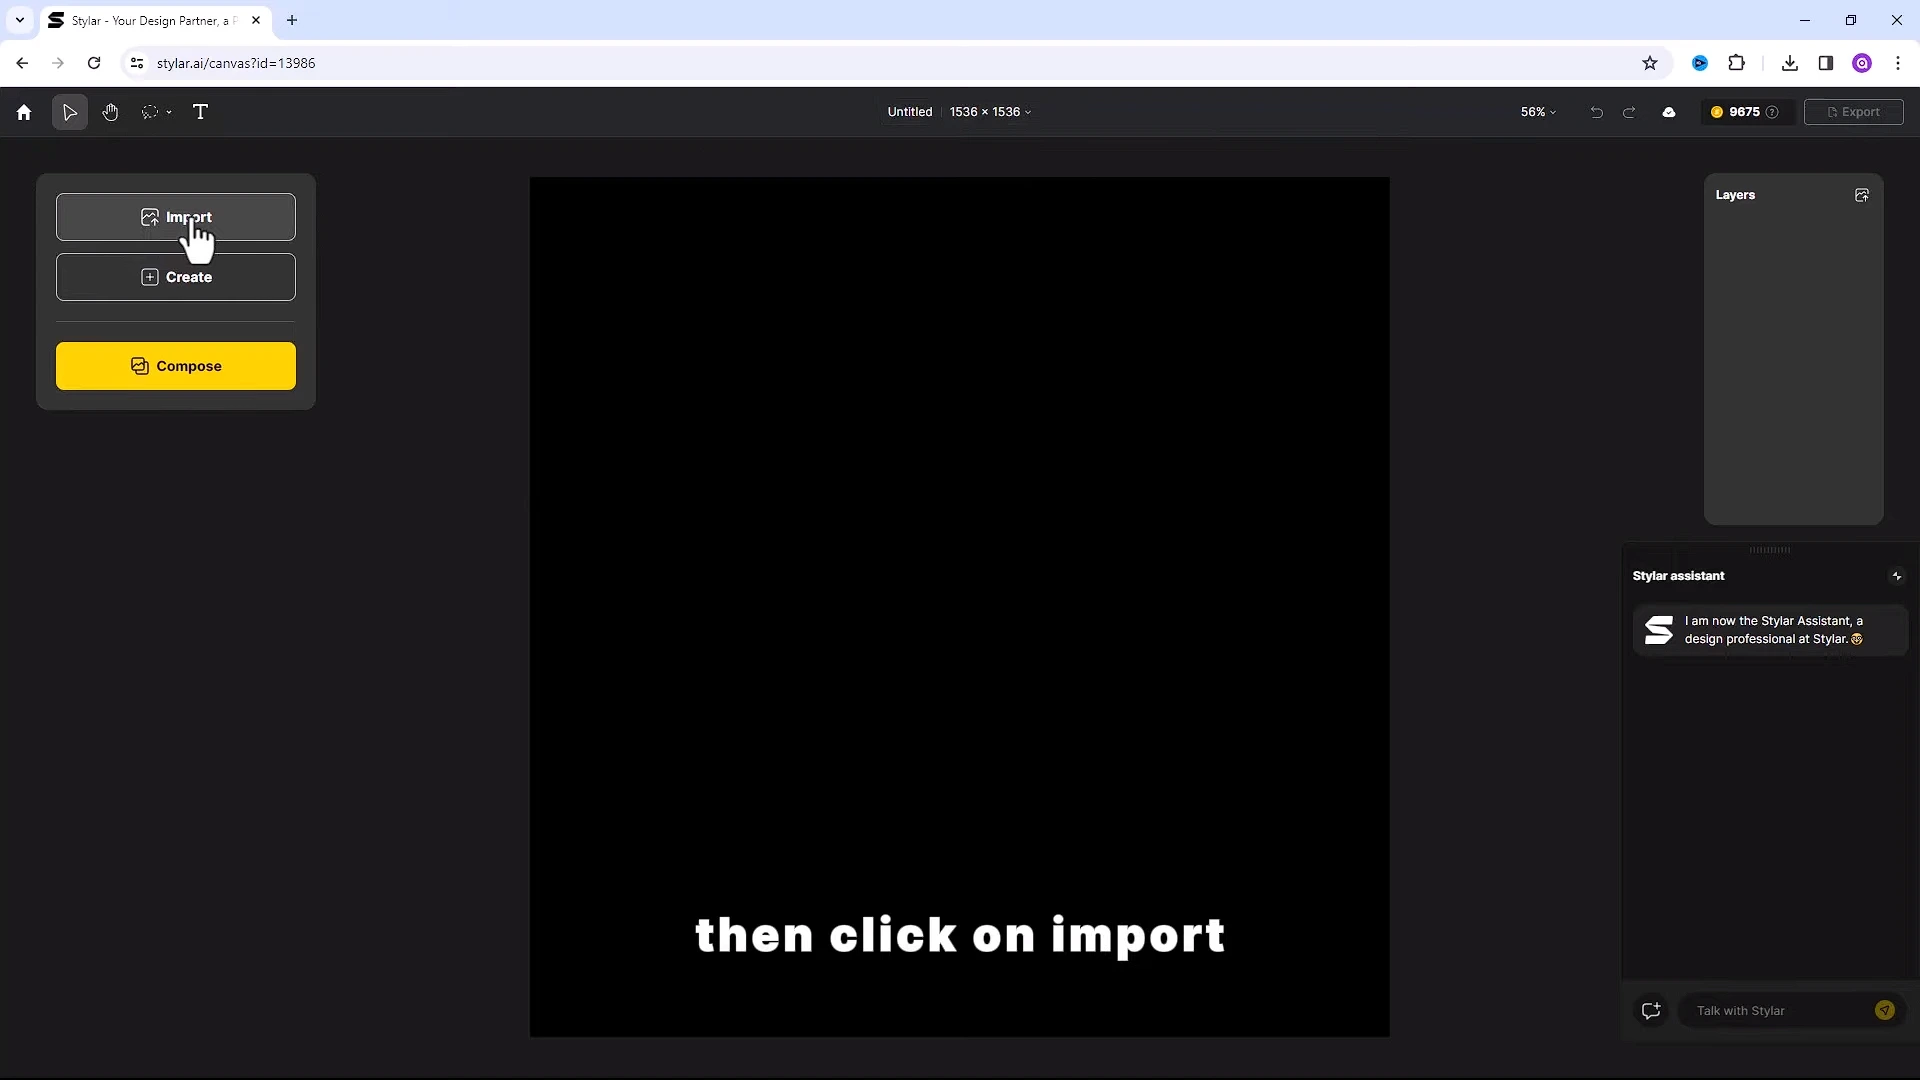
Step 3- upload image
Then click on import, select files and insert it to canvas.
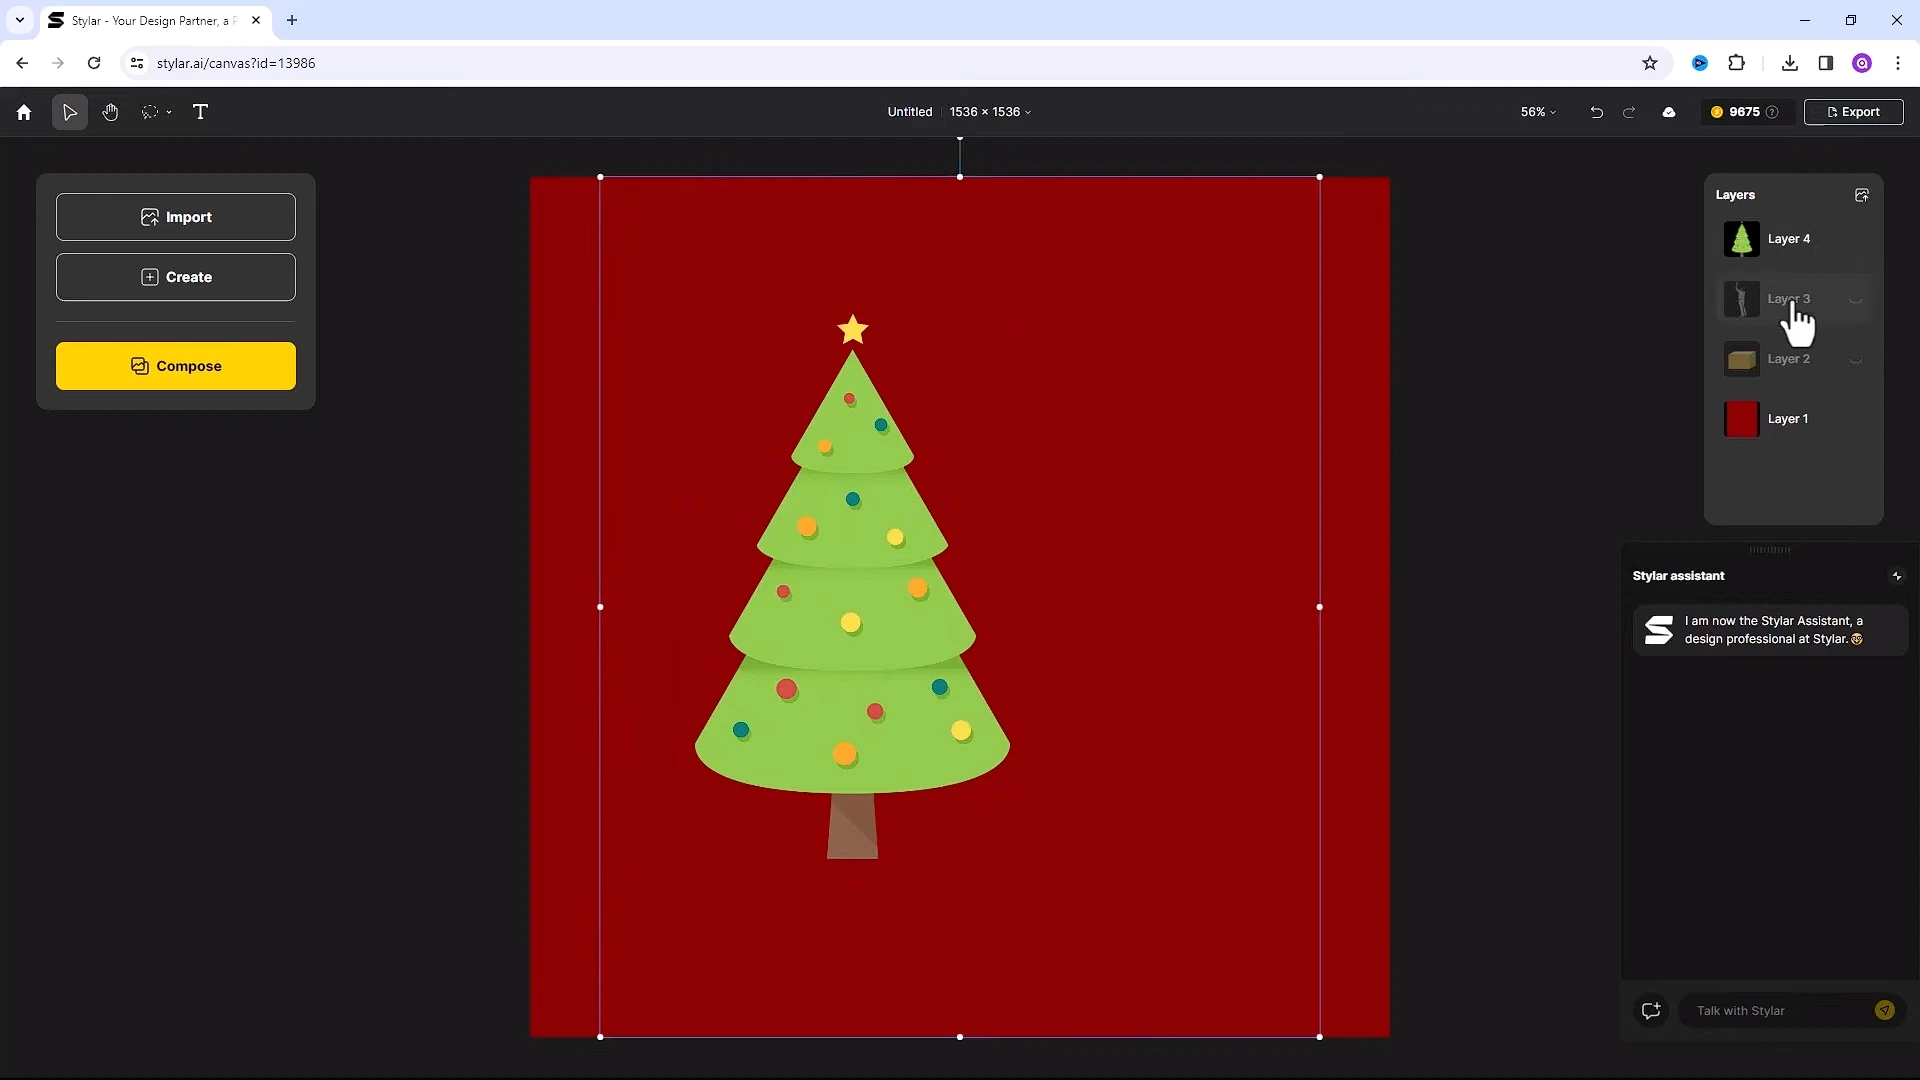
Step 4- Adjust images
Click on little eye icons to turn off. For now it choose the background image and adjust accordingly.

Unhide other images and adjust accordingly.
Right click and duplicate the image.
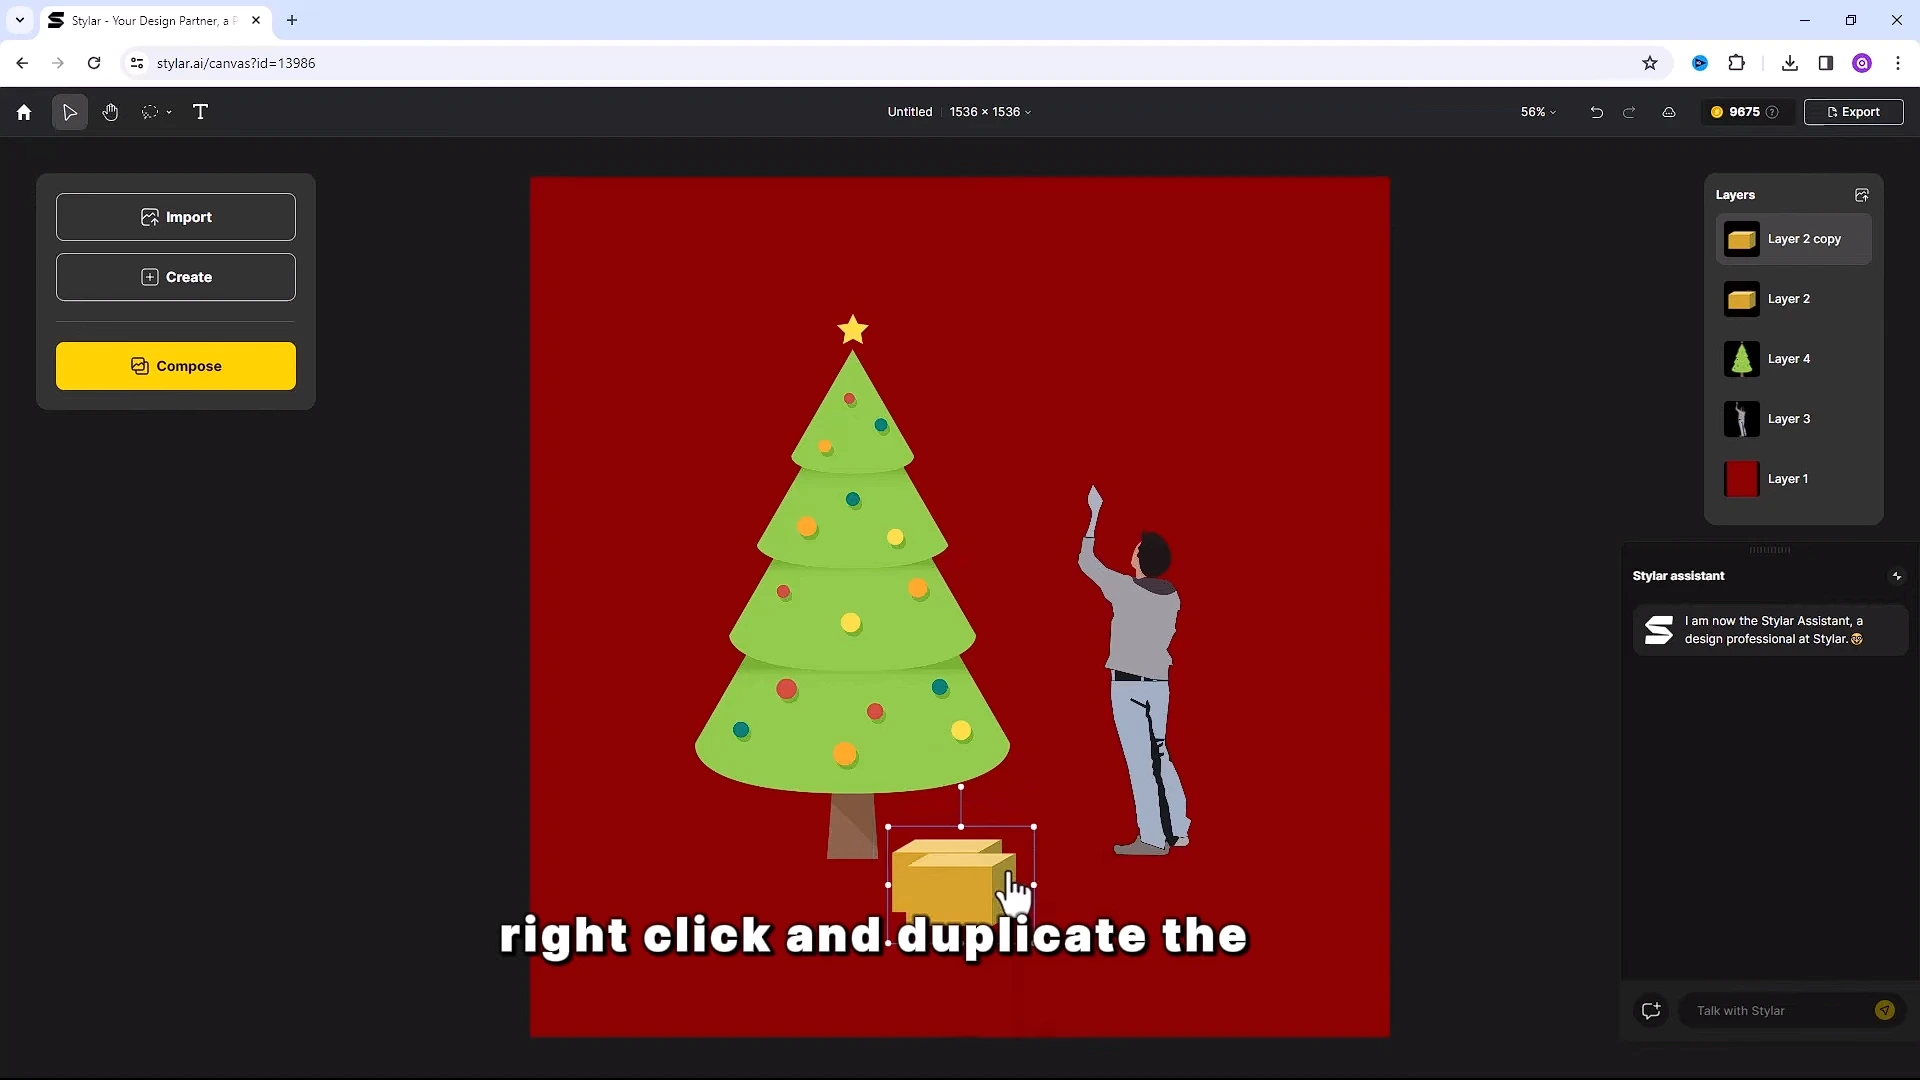
Adjust the position accordingly. Then a click on compose and click on this little icon.

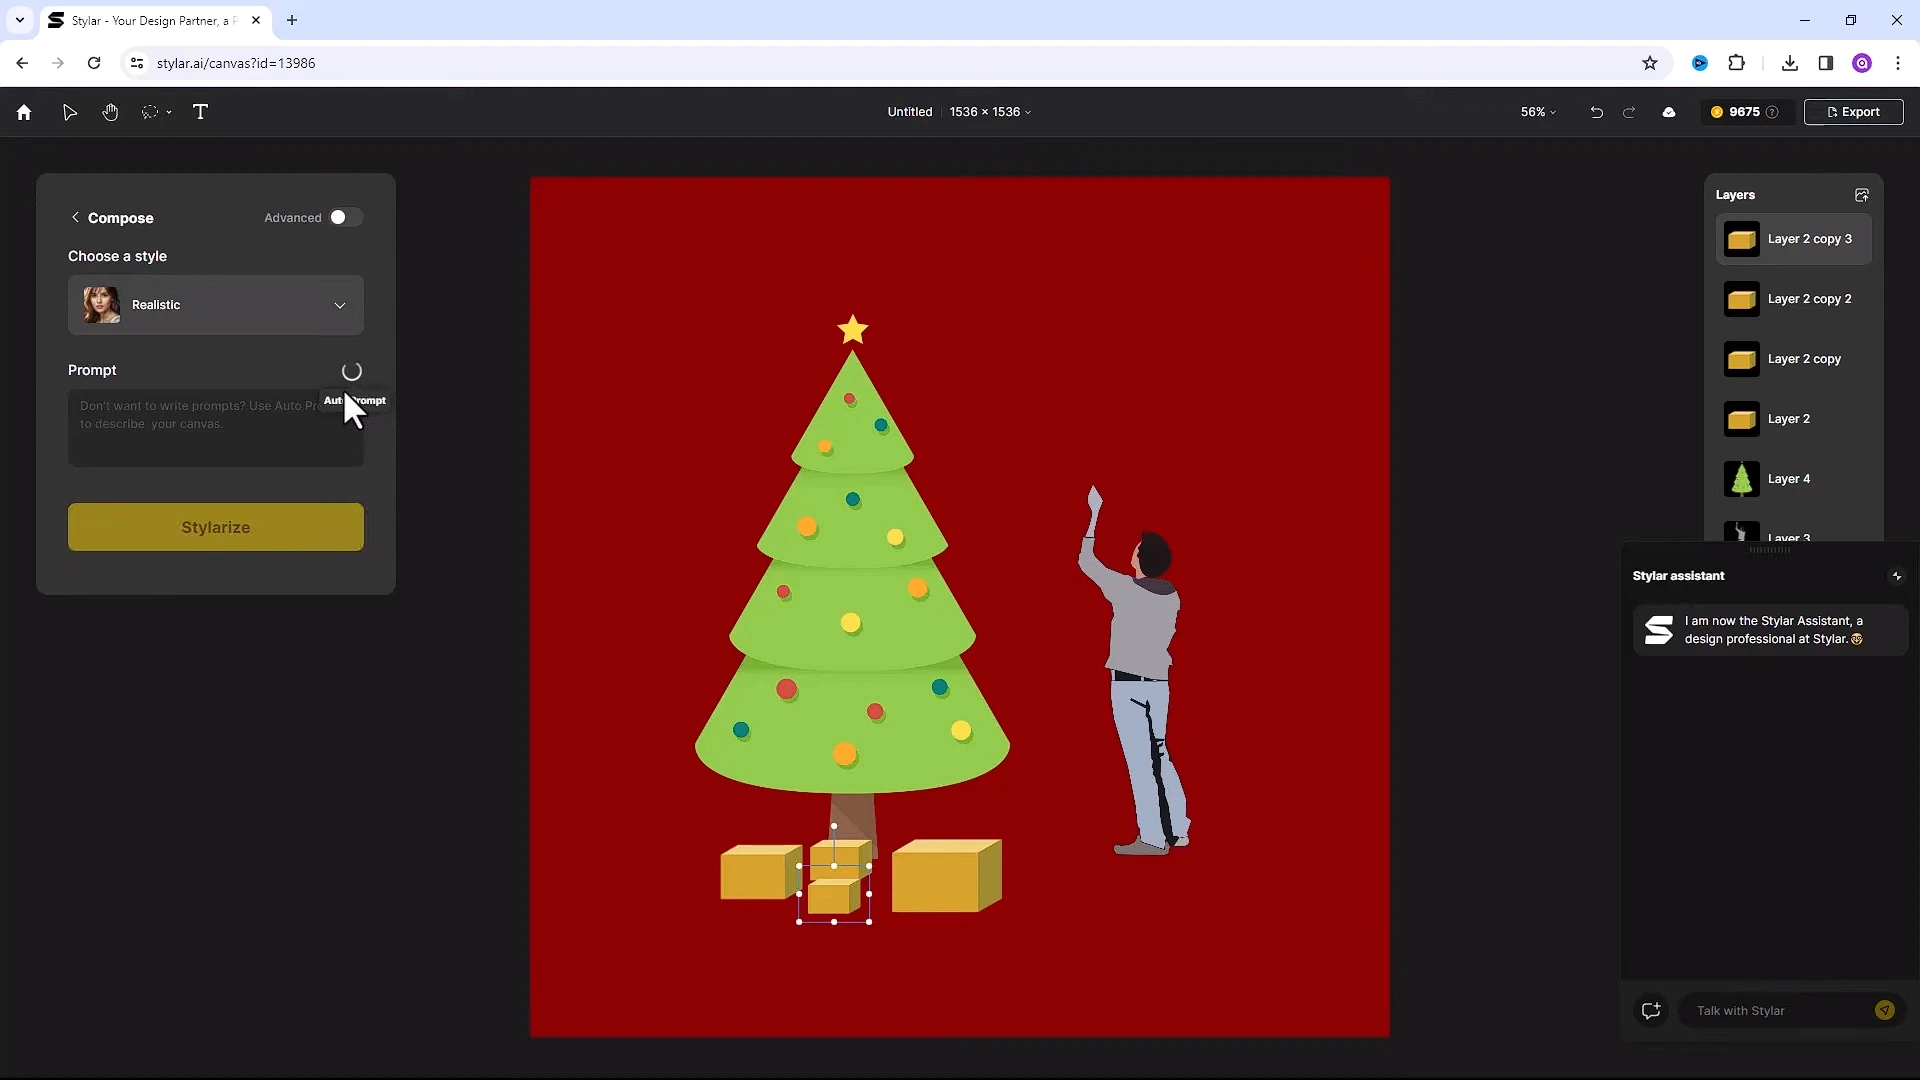
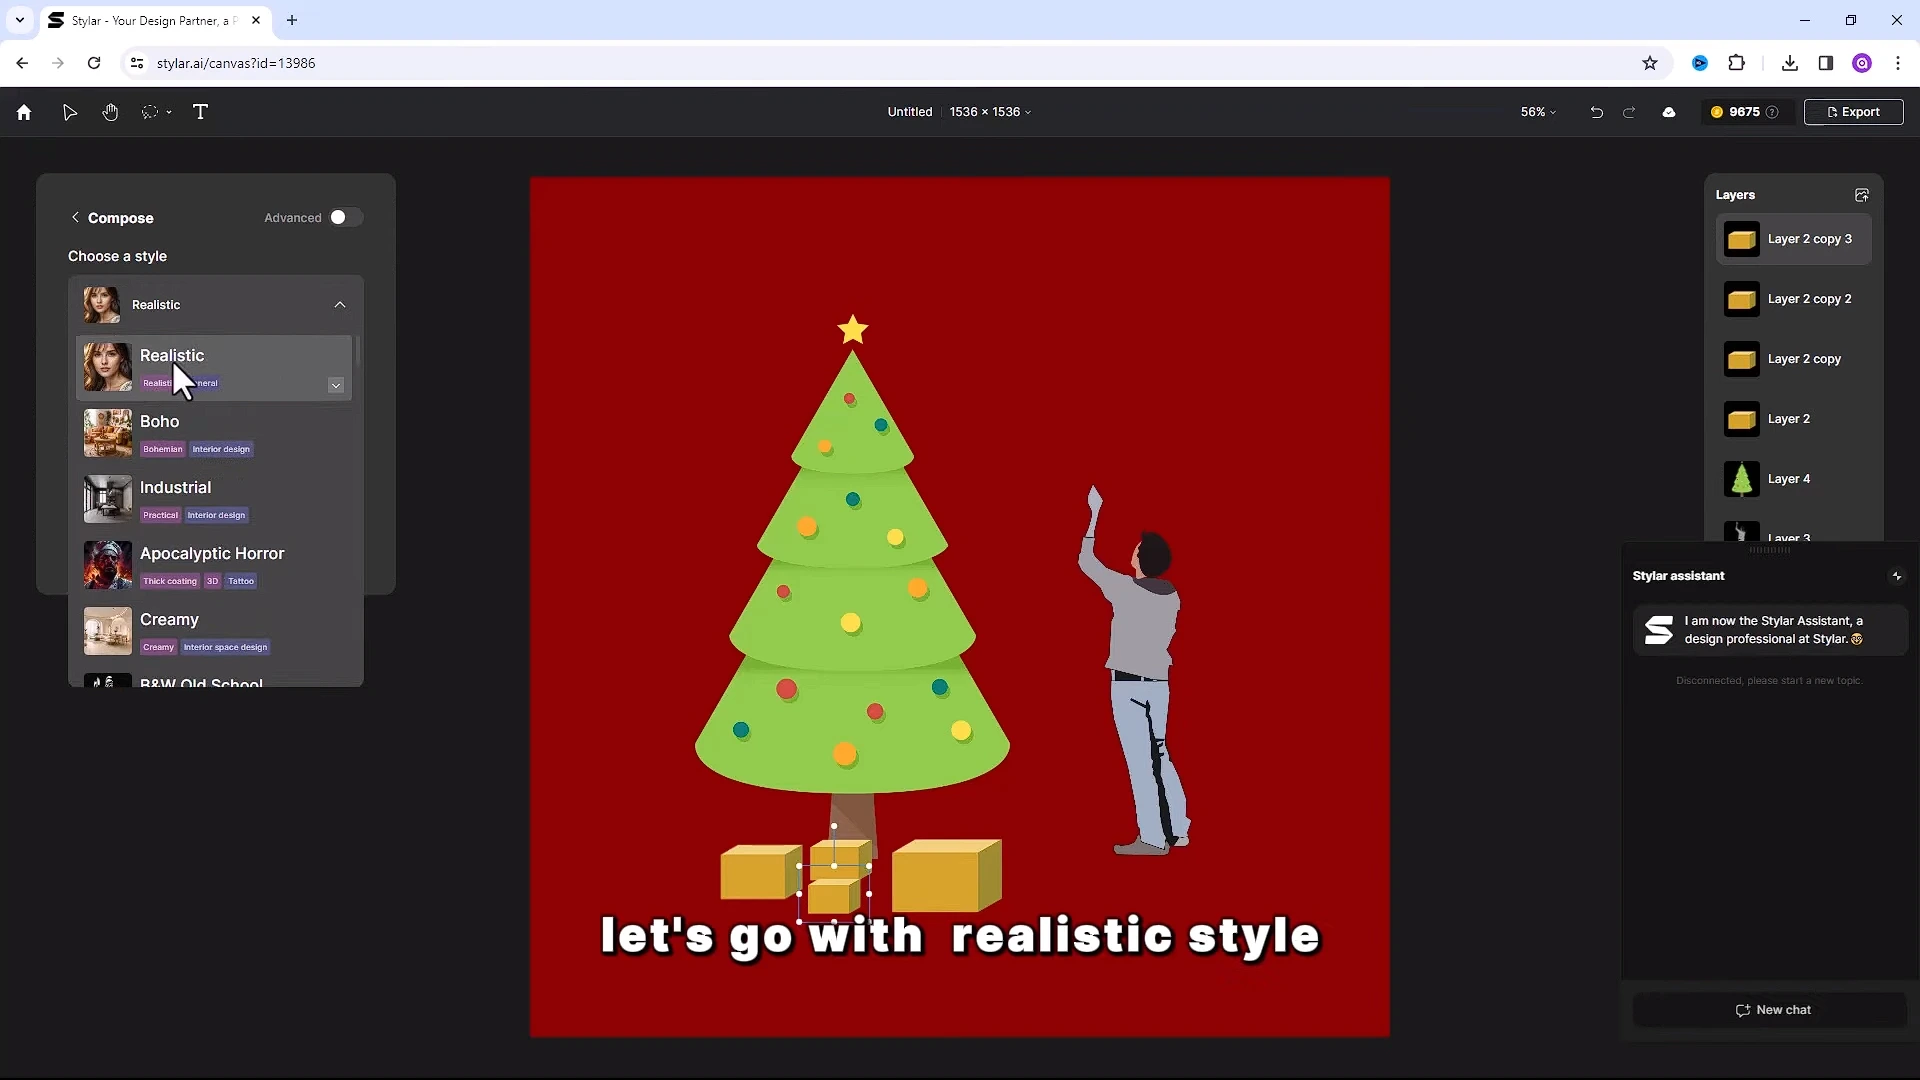
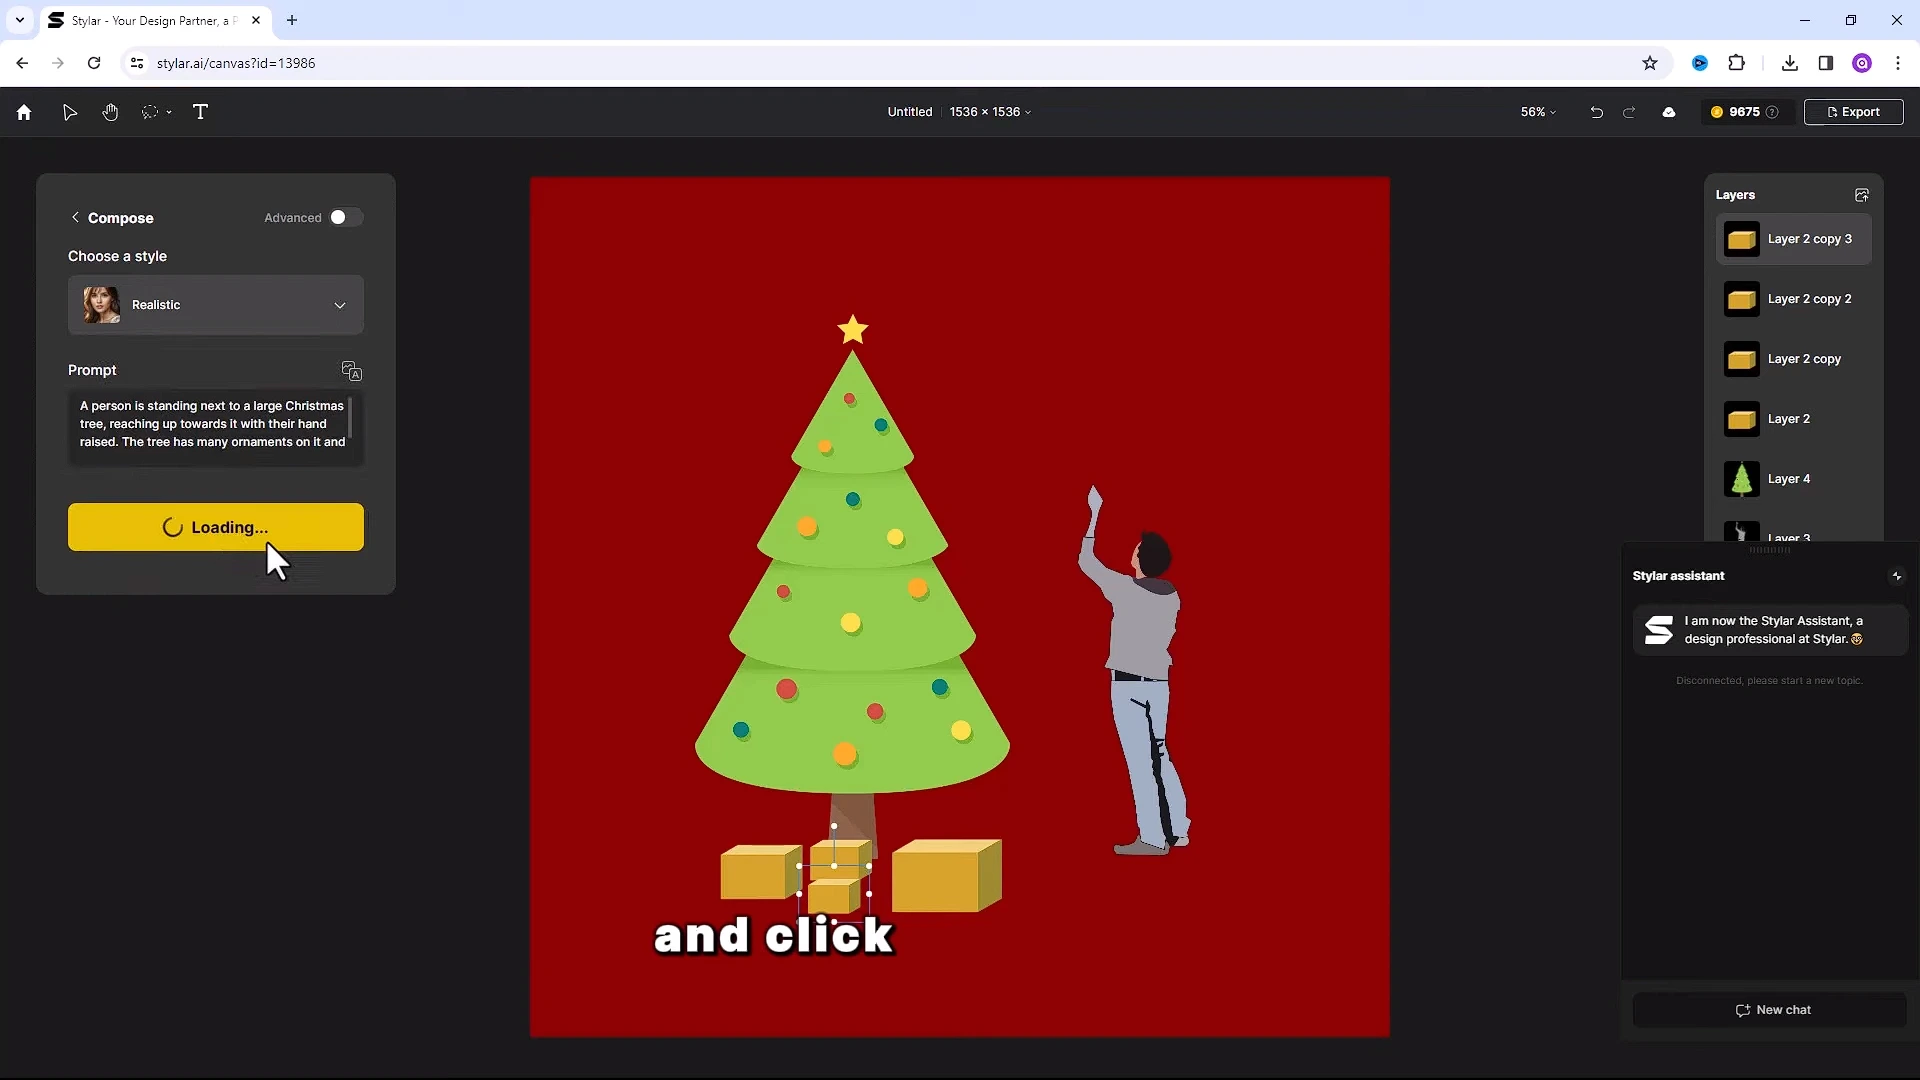
Step 5- Create prompt
It will create a prompt for this image. Here is the prompt.
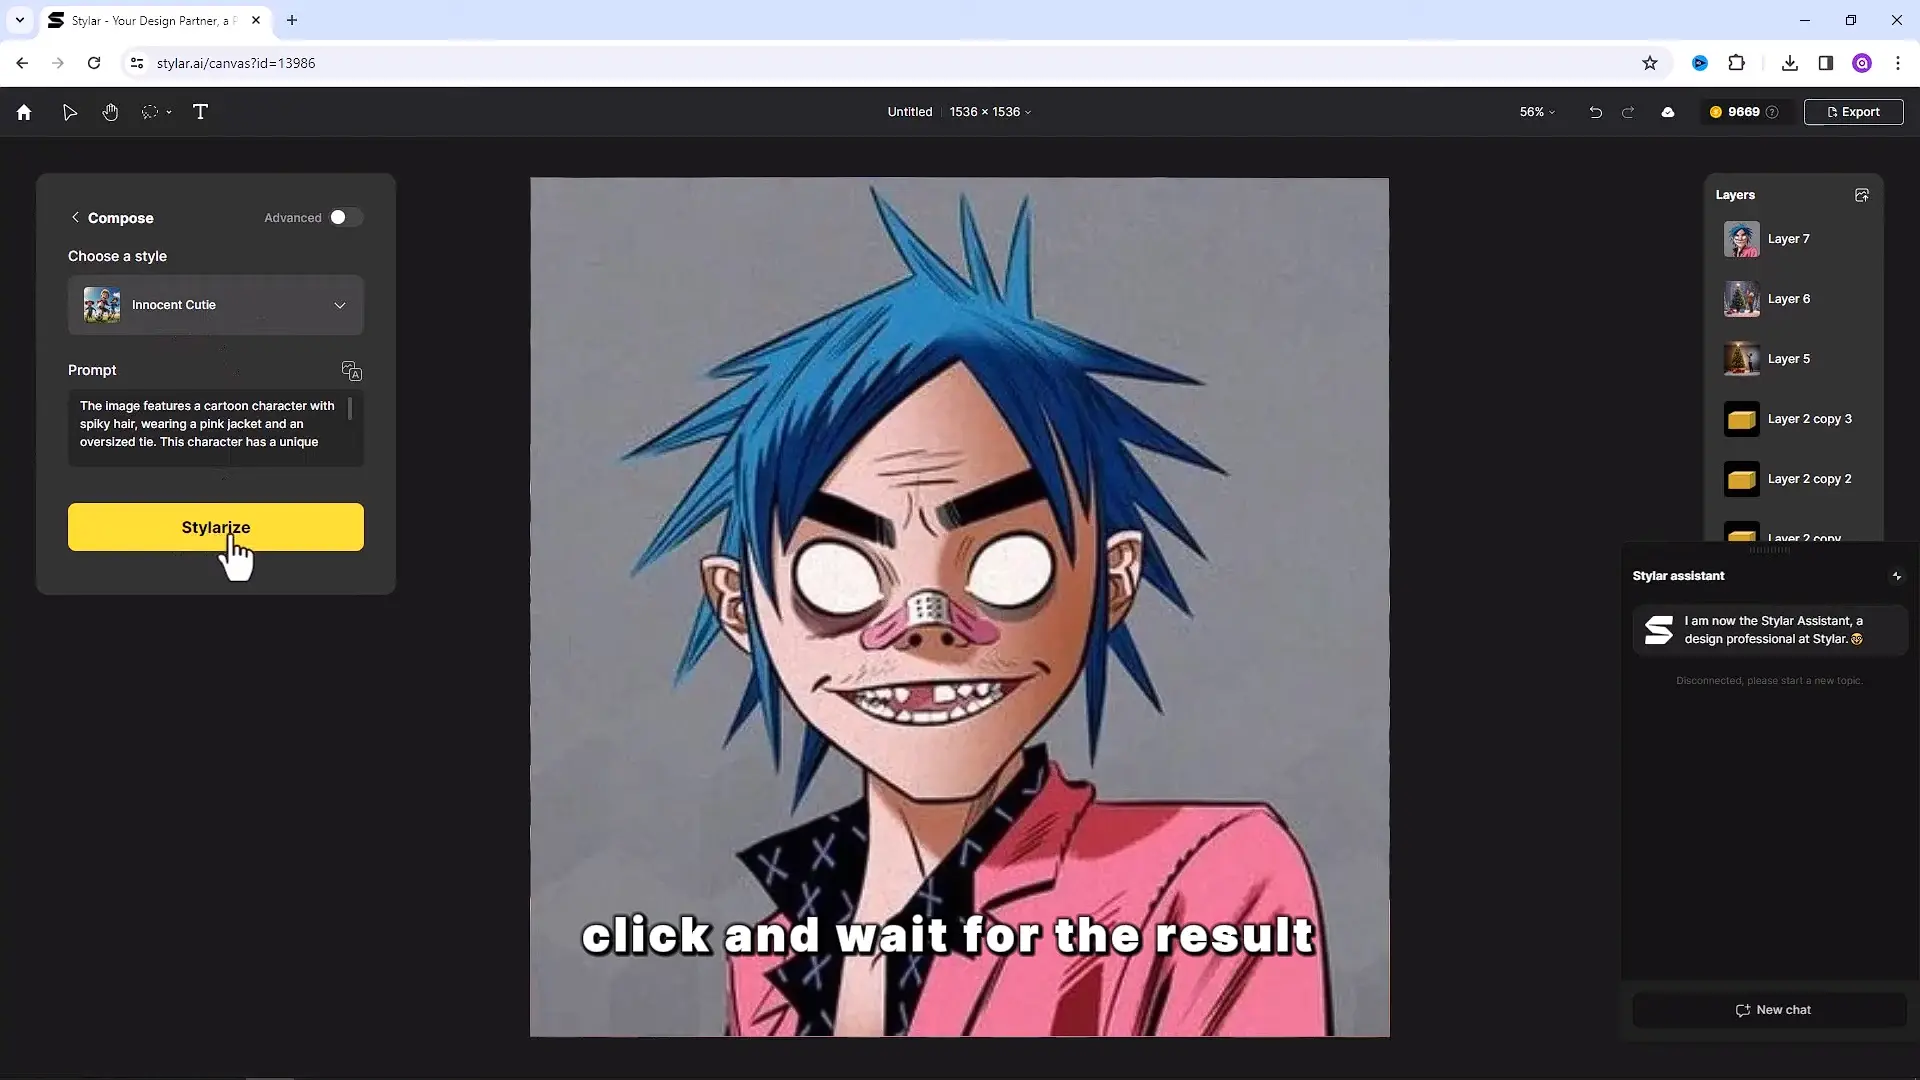
Let’s go with realistic style and click on compose button .
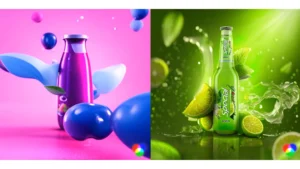
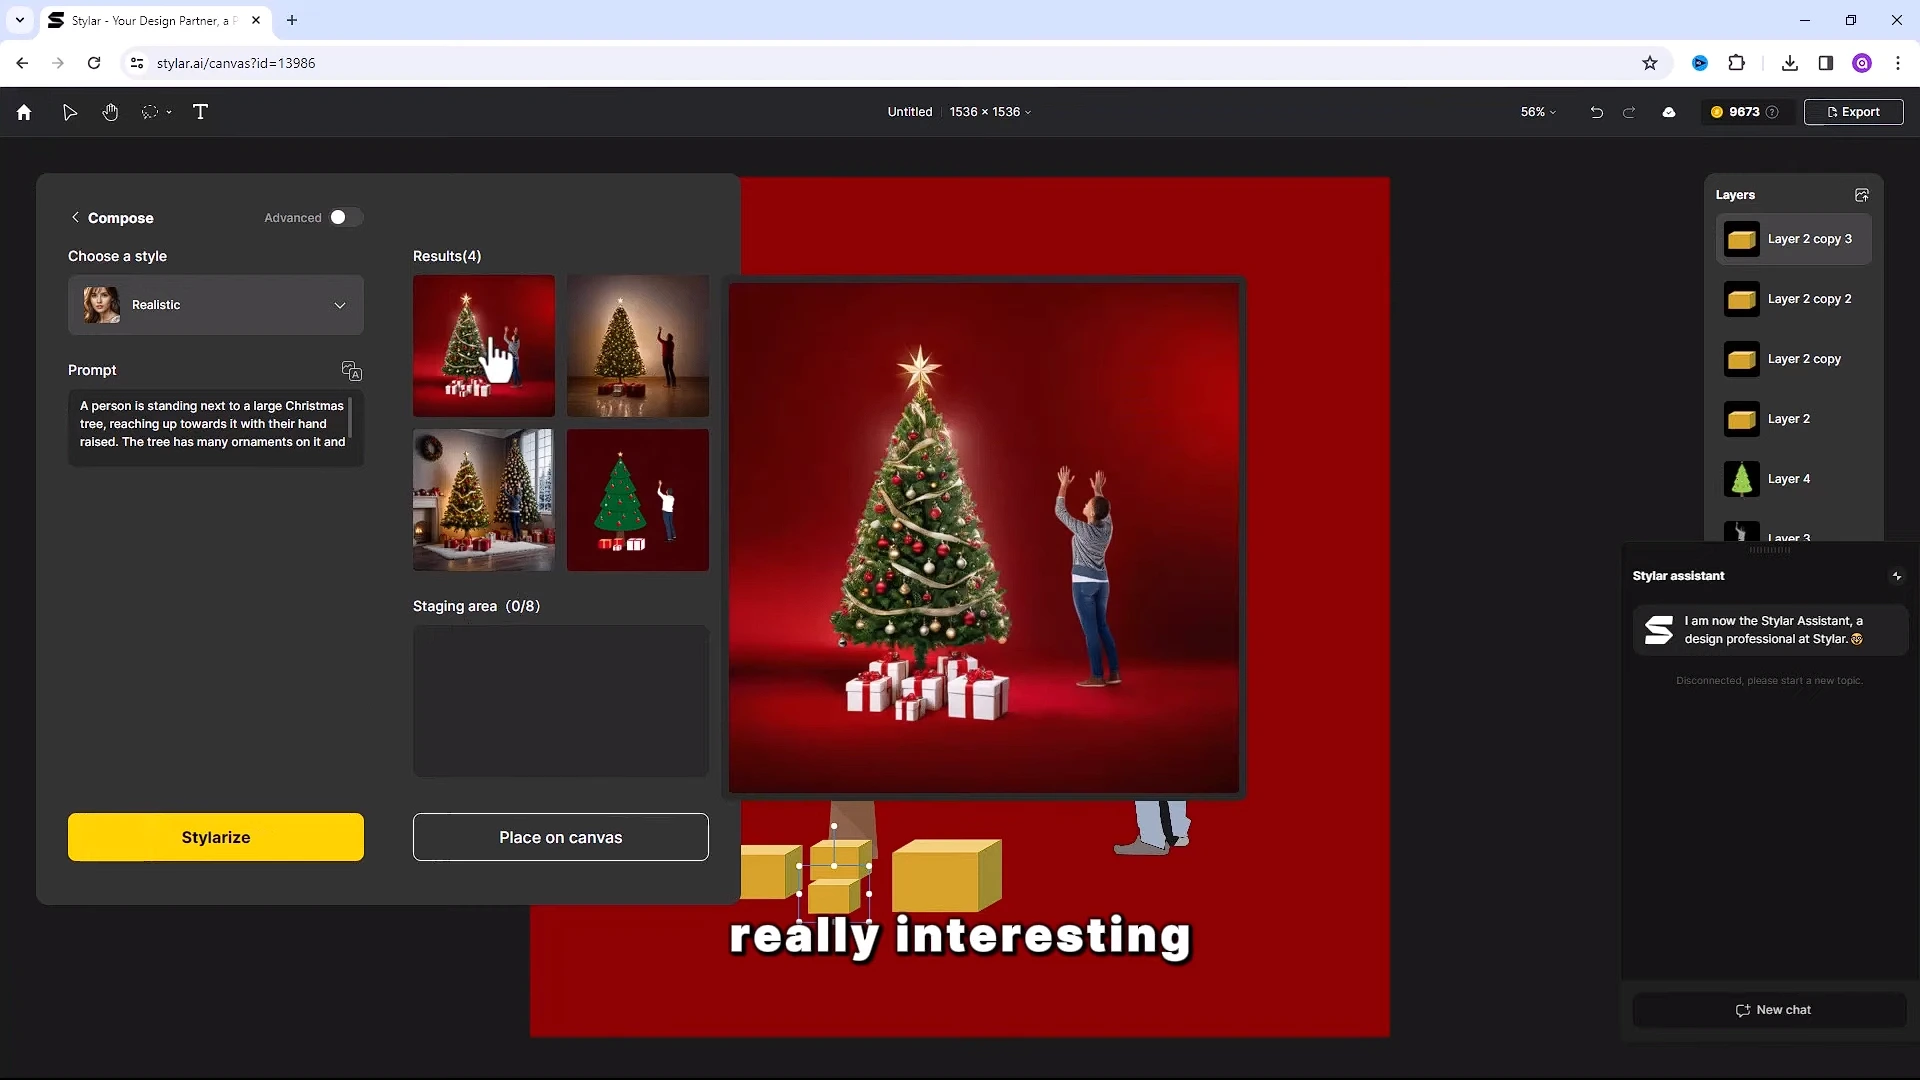
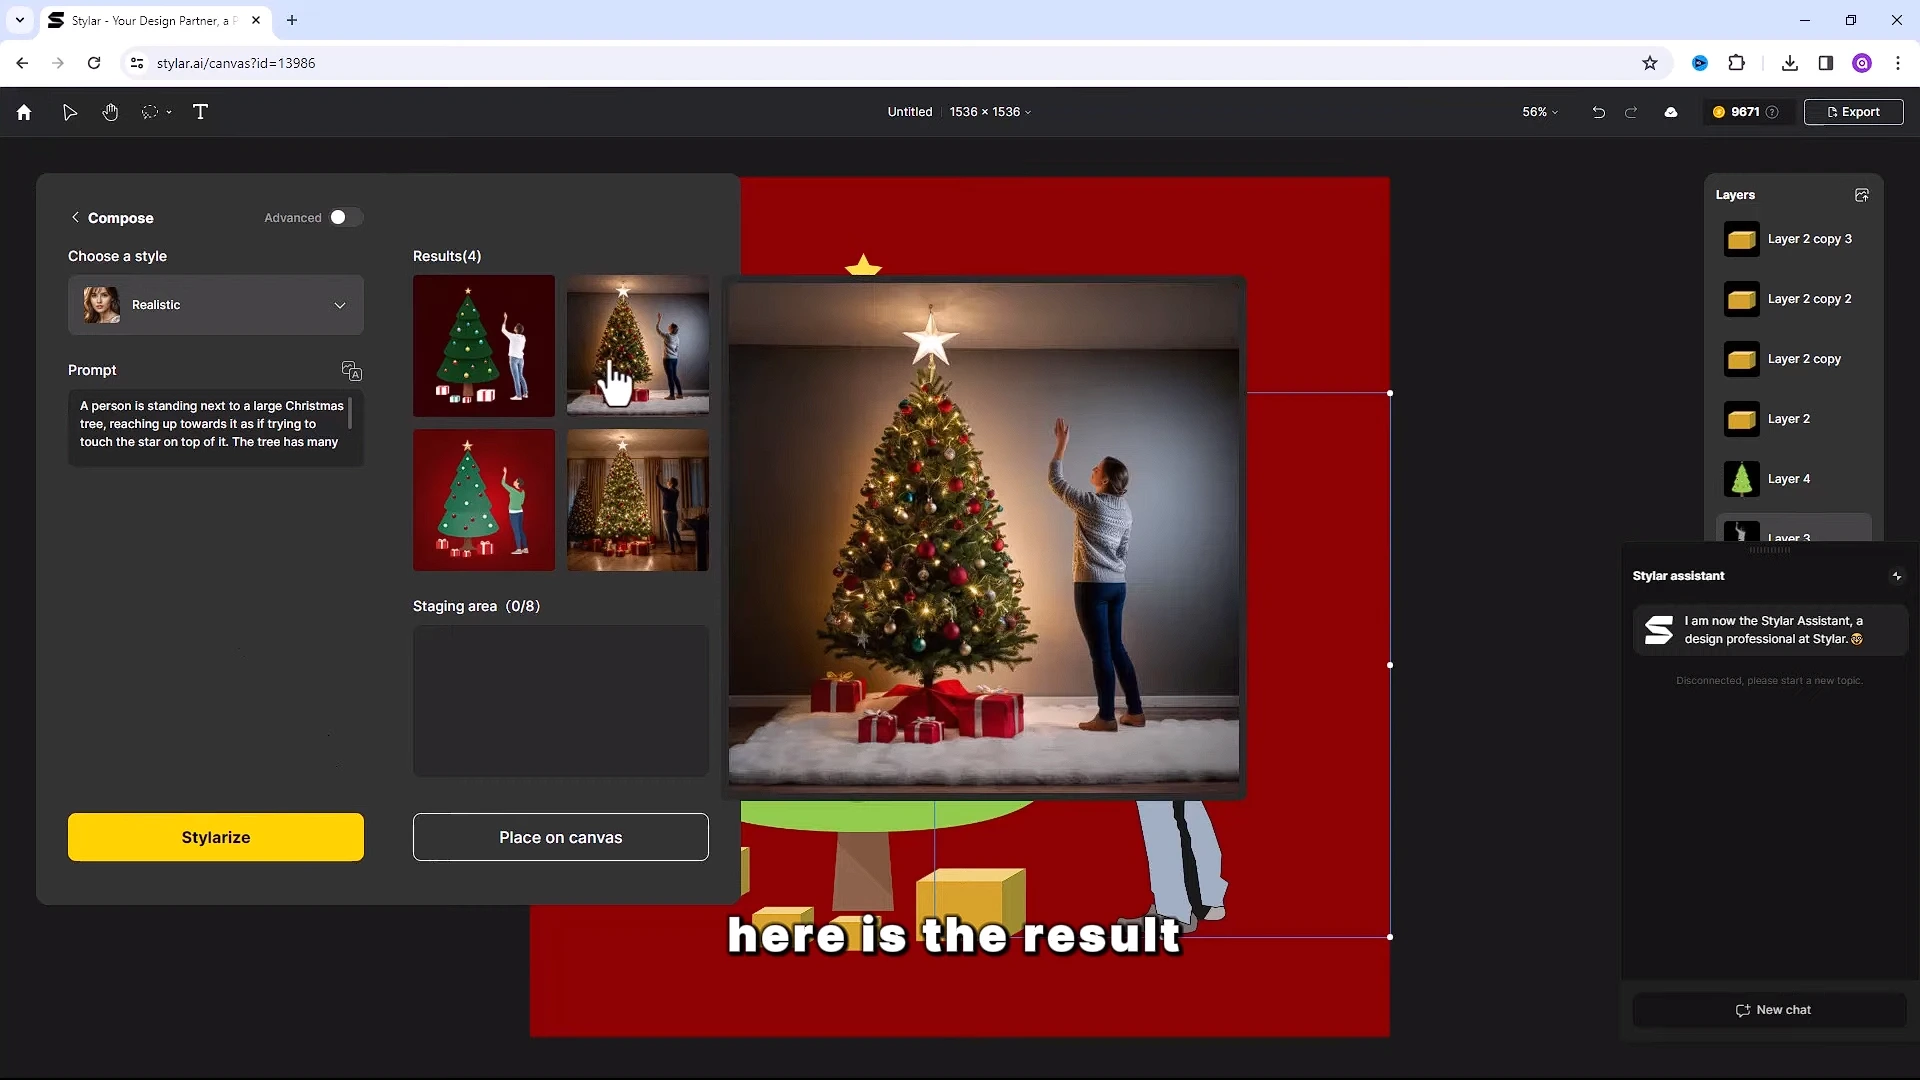
Step 6- Result
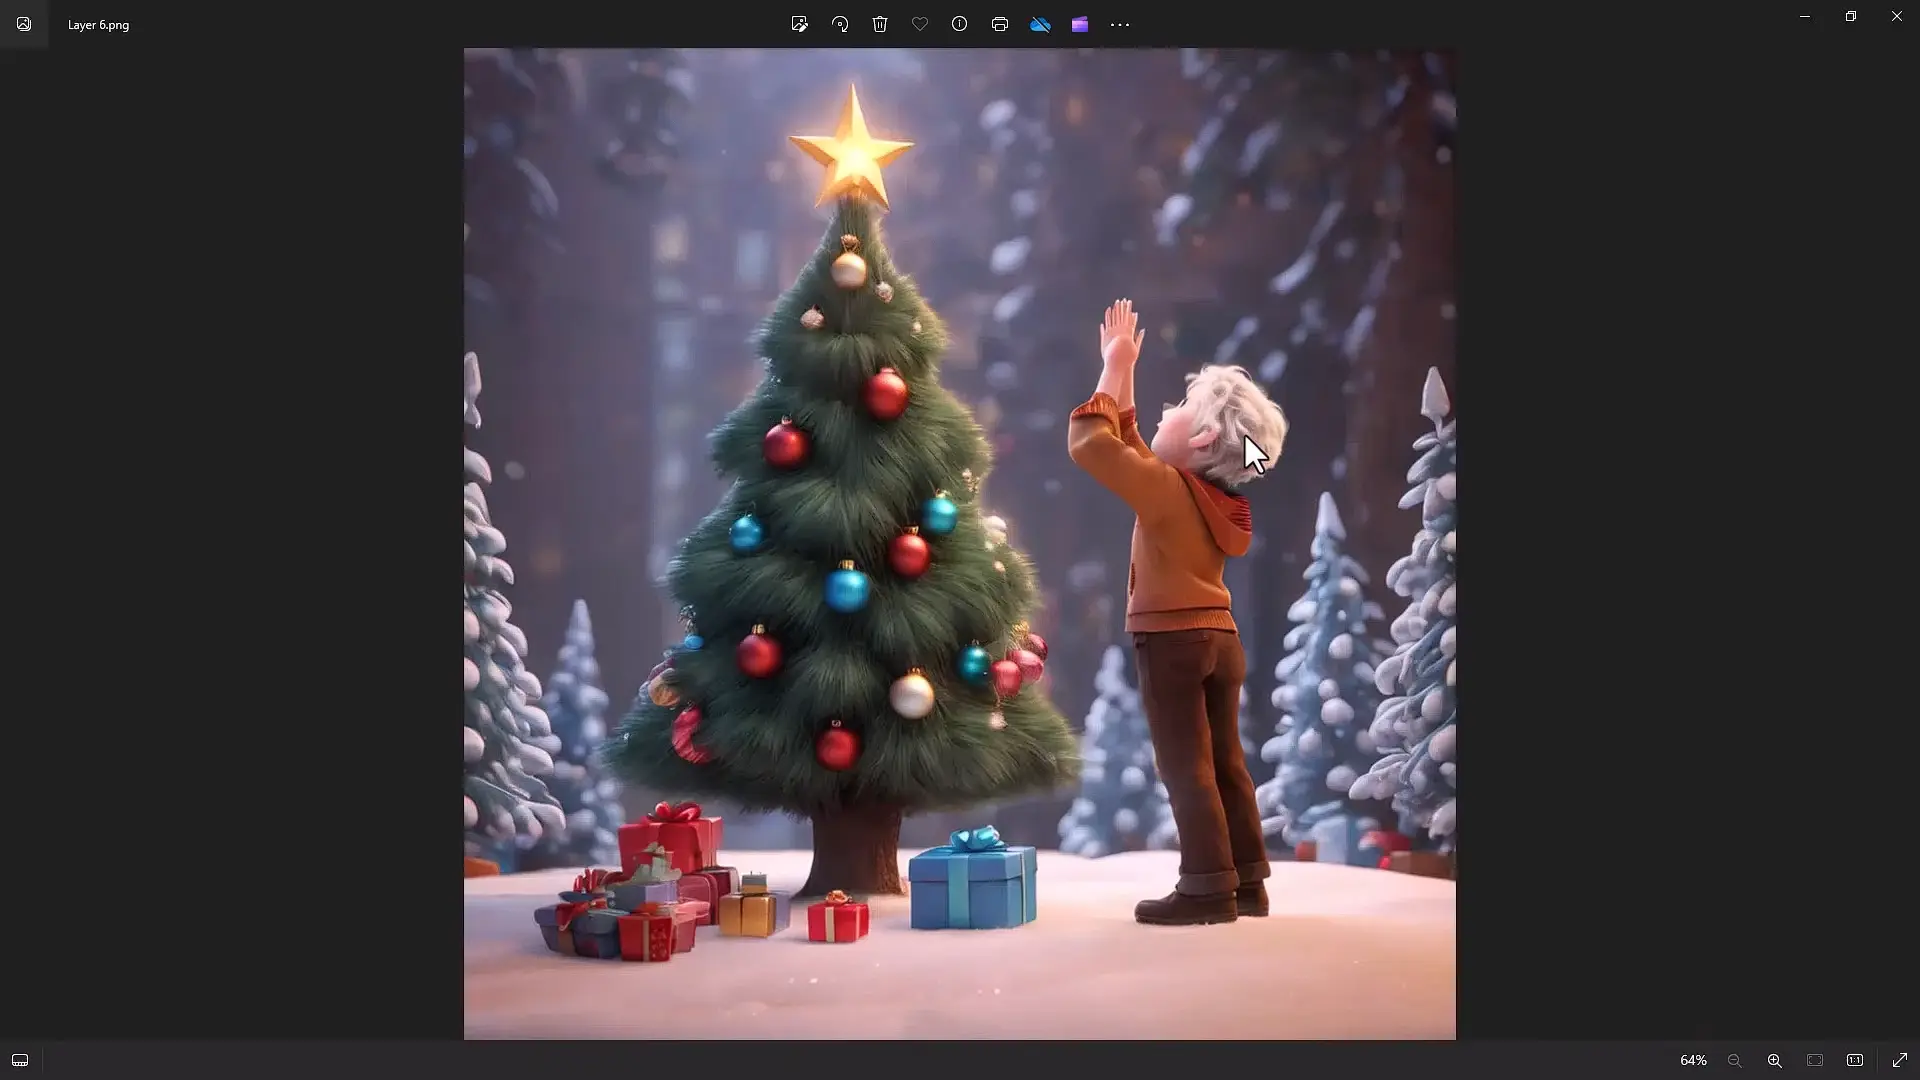
It will take few seconds to generate and here is the result.
Really interesting.
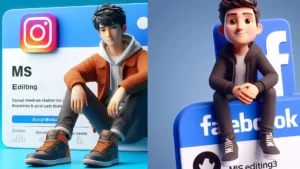
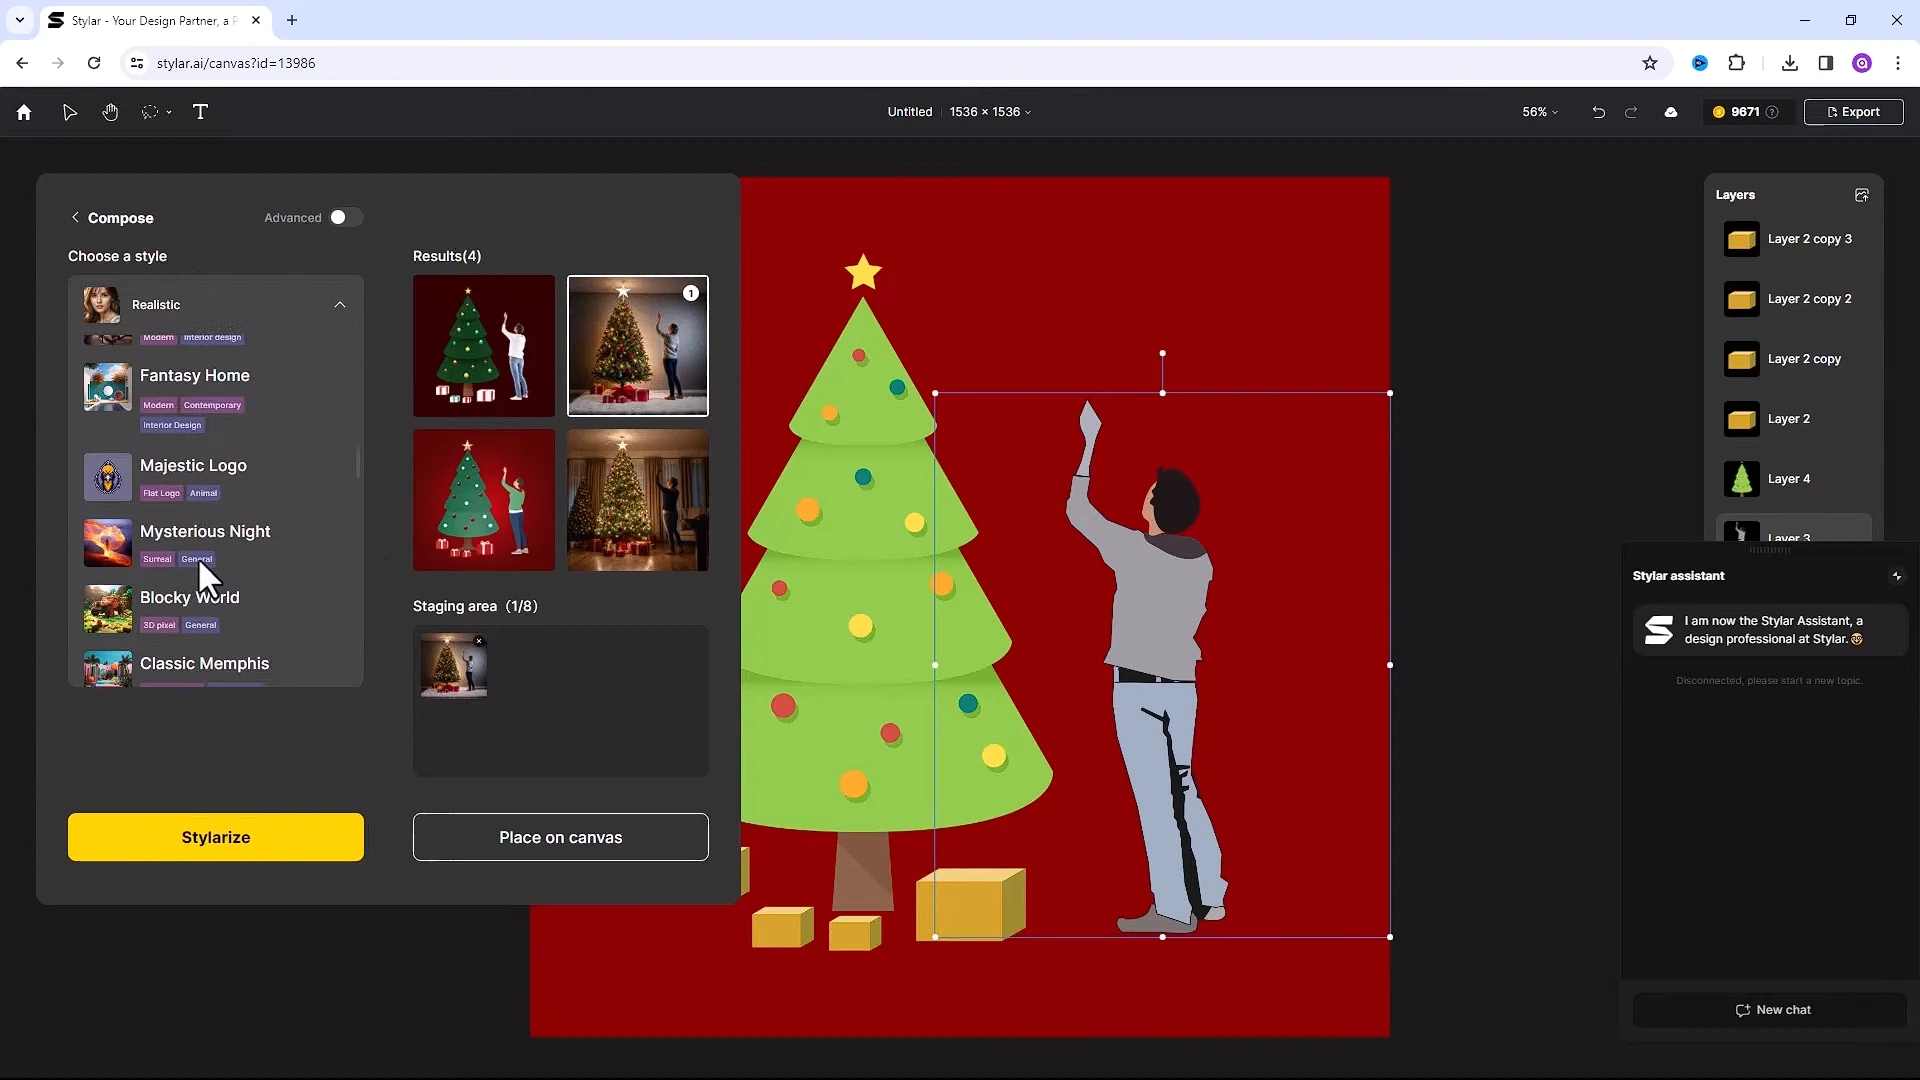
Step 7- Change image
Let’s go back and make changes on image.
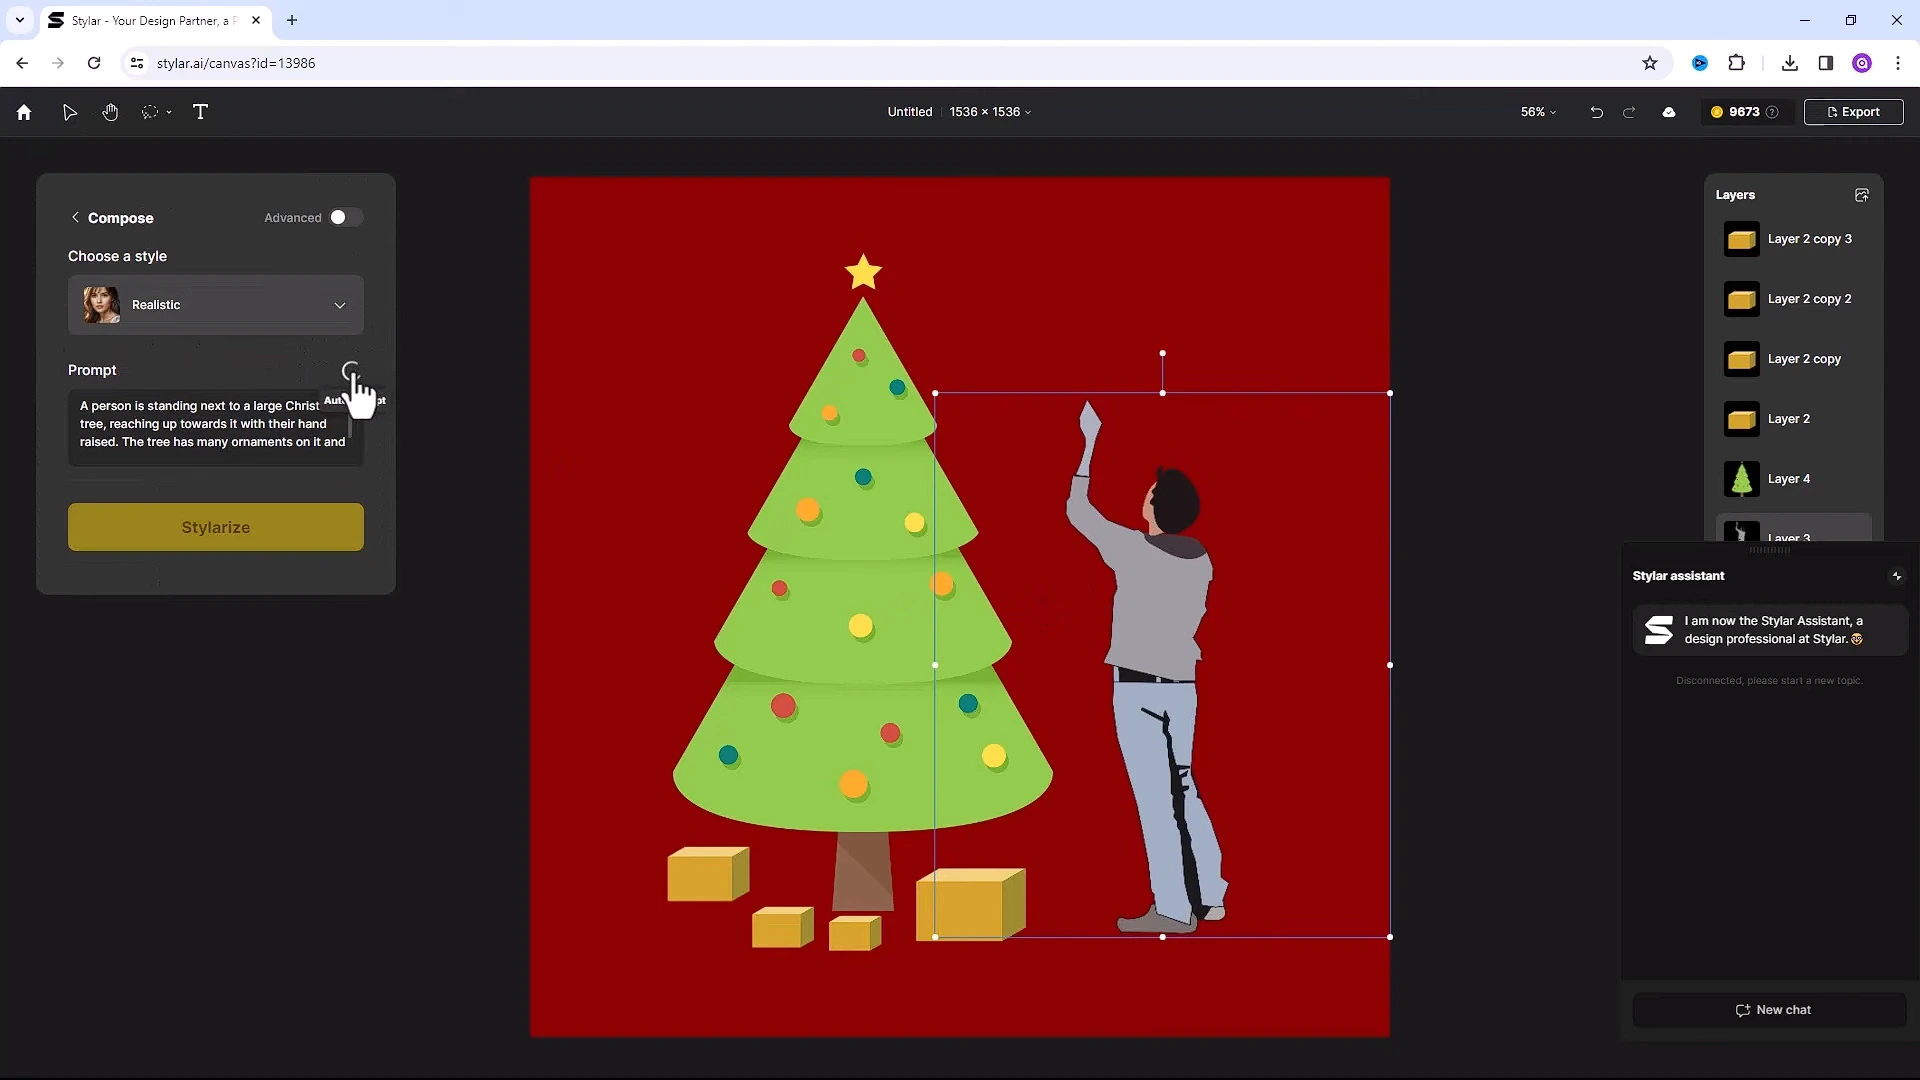
Click on auto prompt icon. It will create you a new prompt. Here is the result. This one is very realistic.
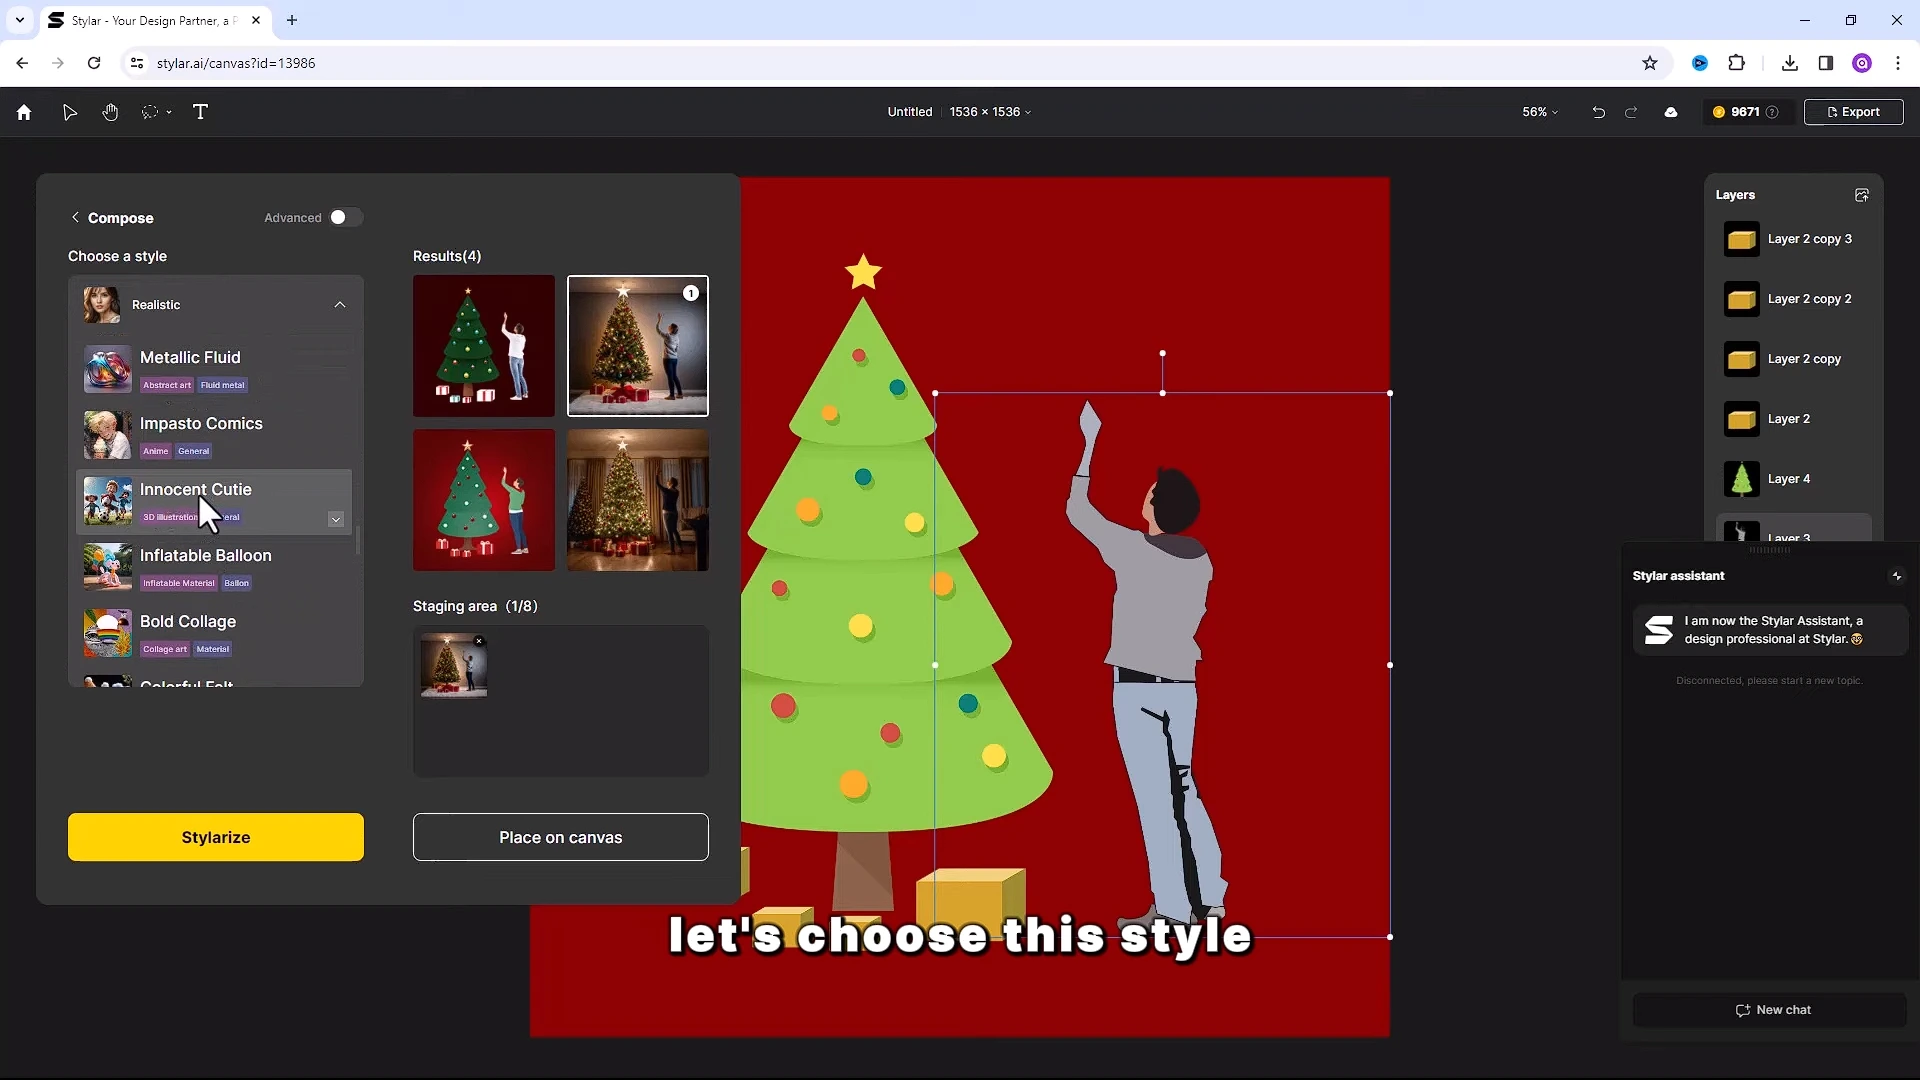
Step 8- Change style
I will take this one and you also can change the style anytime you want.
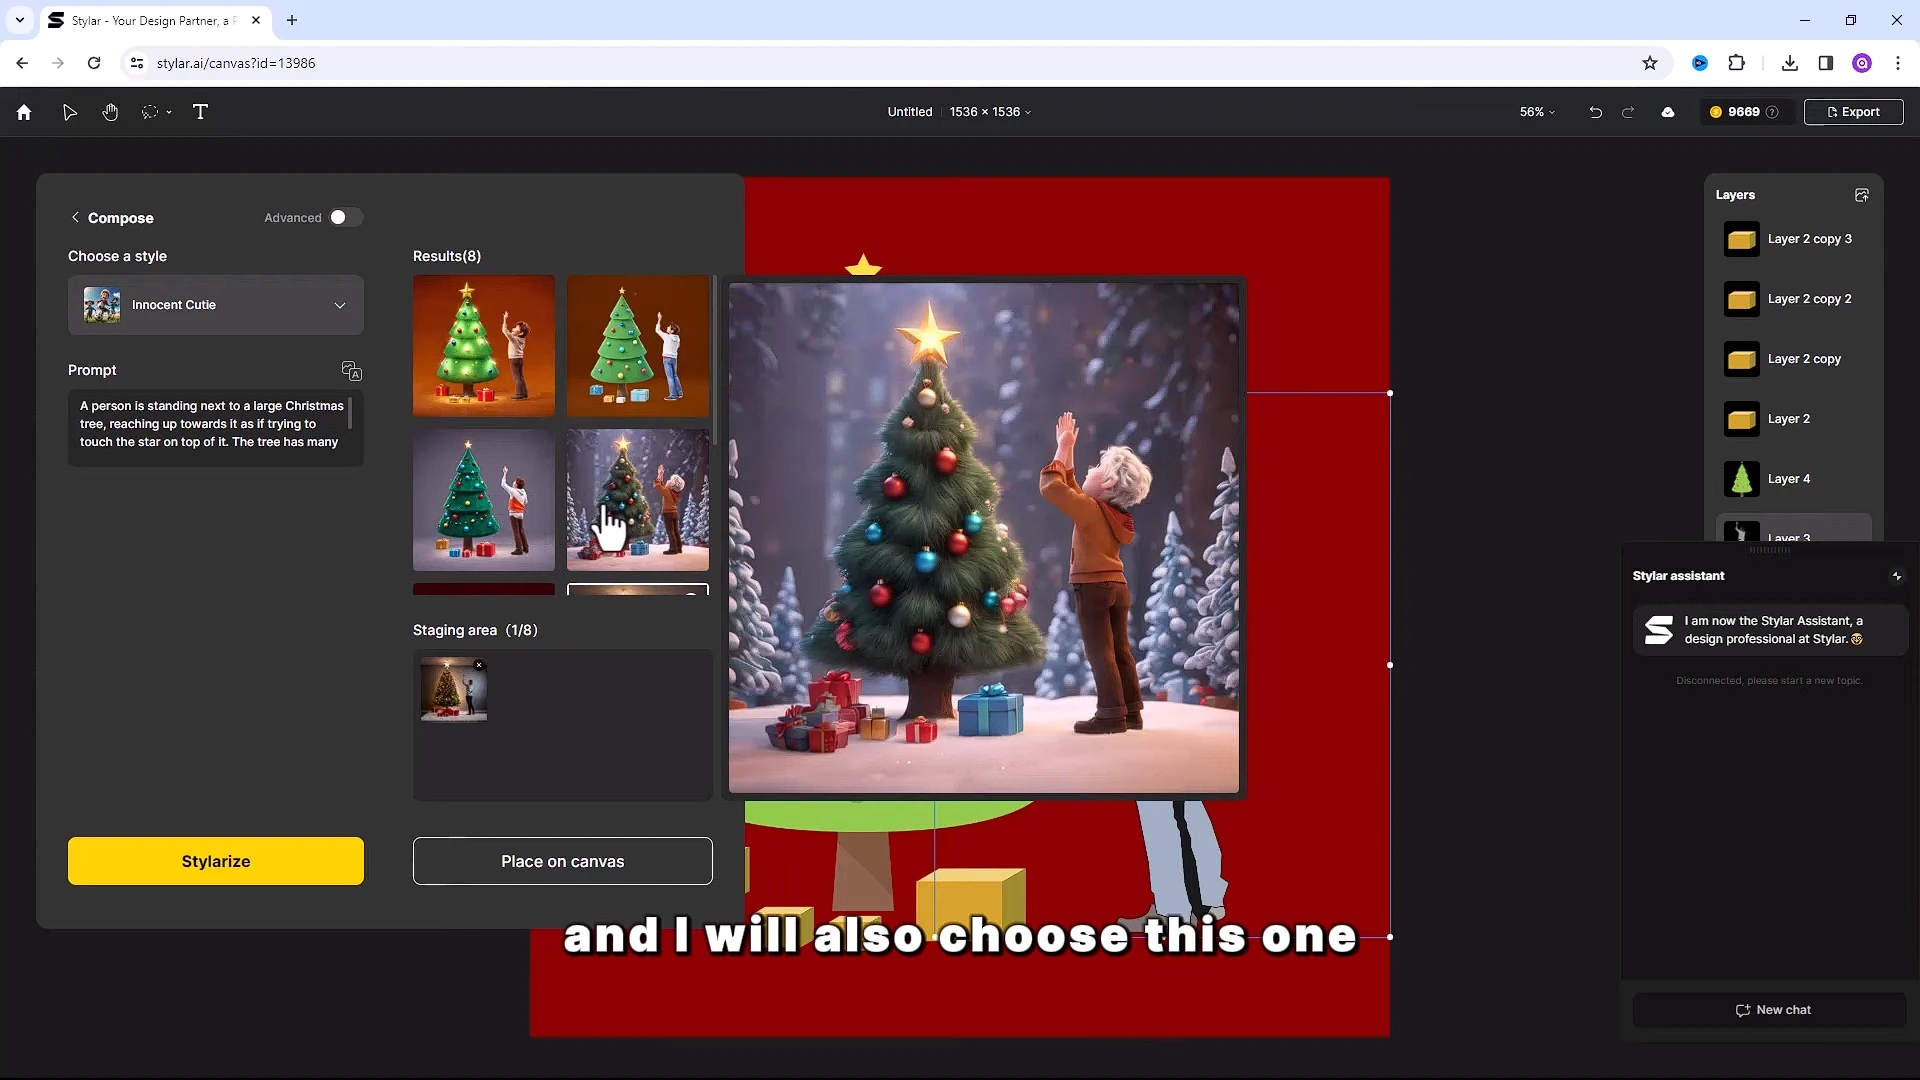
Let’s choose this style and here is the result.
And I will also choose this one.
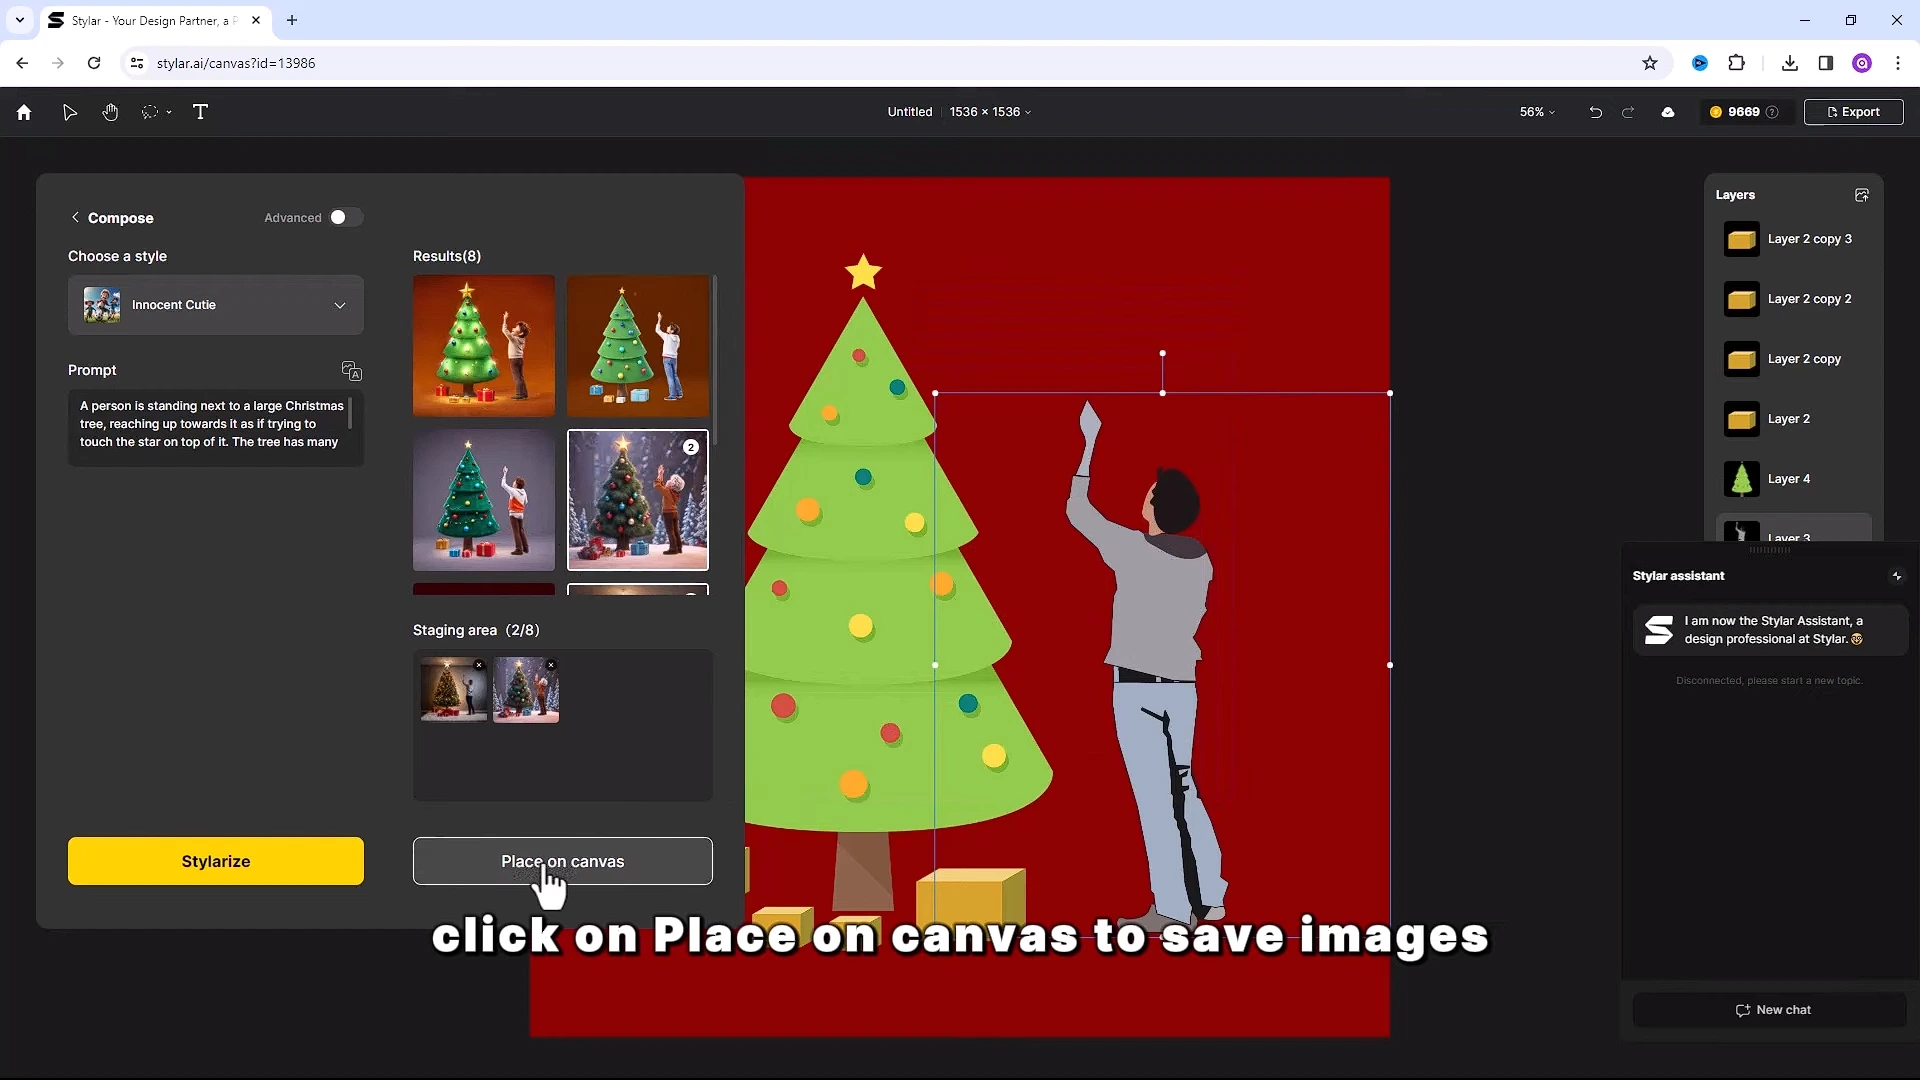
Download Image
Click on place on canvas to save images while your image is selected
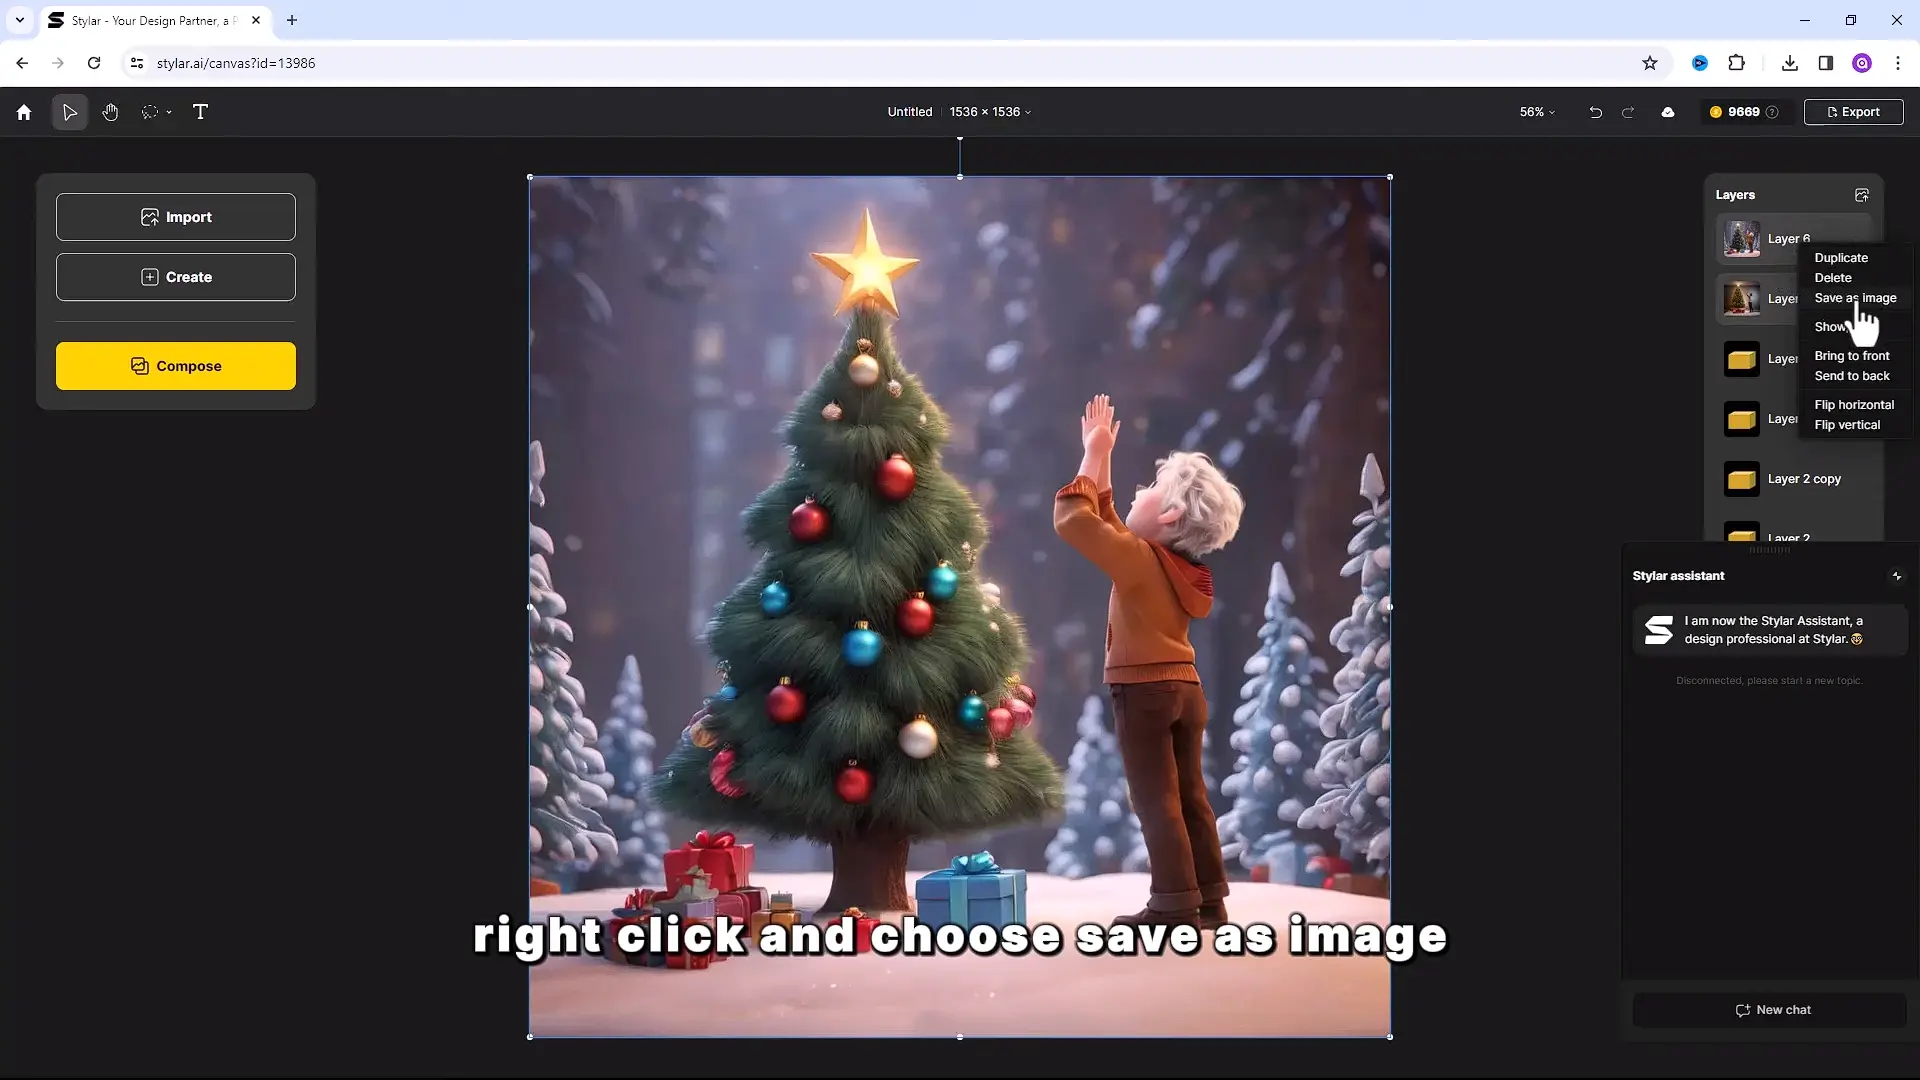
.Right click and choose save as image. It will be saved on your computer.
Also Read- How to Create a AI Professional Profile Photo for free
Choose another images
Now let’s try another image. Scale it to adjust on screen.

Click on compose and create a new prompt for this image.
Click and wait for the result. Change it to a realistic style and generate again.

If you guys want more AI tutorials, don’t forget to follow this blog.